Living in an underwater dwelling offers distinct advantages and disadvantages compared to other types of bases. One notable benefit of an undersea home is its immunity to explosions, as well as the difficulty most creatures face when attempting to attack it. This provides a significant level of protection and concealment. Moreover, such a base can harness conduit power, which adds to its appeal.
However, constructing an undersea habitat in survival mode comes with its own set of challenges. These include limited mobility and slower mining capabilities due to the underwater environment, the need to ensure proper breathing while working, the constant task of clearing water from the structures, and the requirement for specialized entry and exit methods in deep bases. Additionally, caution should be exercised regarding the presence of drowned creatures, which are common in oceans and sometimes wield dangerous tridents.

1. Breathing and moving underwater
To enhance movement and mining speed in underwater environments, players can equip a helmet enchanted with Aqua Affinity. This enchantment boosts the speed of mining underwater, with a maximum tier of 1. Additionally, the use of Depth Strider enchantment on boots can increase movement speed underwater, with a maximum tier of 3.
When constructing underwater structures, it is advisable to prioritize safety and simplicity. Wearing a helmet enchanted with Respiration can be beneficial, as it extends the duration one can hold their breath underwater, but it does not provide true underwater breathing. To ensure longer periods underwater, it is recommended to have Potion of Water Breathing available, with an 8-minute duration. It's important to note that even potions with a shorter duration, such as 3 minutes, can still be useful when accessing deep bases where alternative means of breathing are available.
2. Getting to the sea bottom
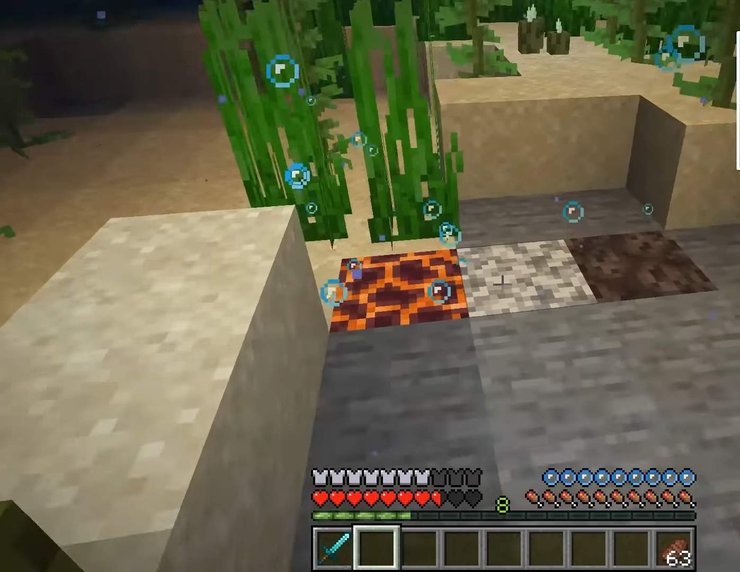
To create a standing area in relatively shallow waters, one can swim down and use "bubble blocks" as a foundation. From there, additional blocks can be placed to form walls and a ceiling, and a method of water clearance can be employed to complete the room.
Another approach, known as the "lily pad" method, involves dropping sand from the edges of a lily pad placed on the water's surface. This creates a 3x3 column extending to the bottom. Alternatively, placing a block onto the lily pad can facilitate the sand placement process. Once a closed column of water is formed, the central block can be filled with more sand. Starting from the top, the central column of sand is then gradually excavated, while replacing at least one side with a non-falling block like dirt or wool. Ladder blocks can be placed on the non-falling block. Upon reaching the bottom, a solid wall can be dug out (without collapsing), and a door can be installed to keep water out. Alternatively, one can continue digging deeper into the seabed to create a fully submerged base.
A relatively safe method to reach the seabed is by digging down from a nearby landmass and then tunneling horizontally until reaching the desired coordinates. These coordinates can be determined by previously rowing a boat to the planned base location and noting the coordinates for reference.
3. Building the base
If your base is large in size, removing water can be done using a command block. However, if your base is small, a quicker method involves using a sponge to soak up the water. Once you have established a secure area at the bottom, construction can commence. Begin by placing a door just before a vertical wall and then dig into the rock through the doorway. It is common for the sea bed to consist of gravel for 2-3 blocks, so it is advisable to cover the gravel with solid blocks to prevent water from seeping in as you remove the gravel. Once you have created an entrance passage, you can place ladders, signs (pre-Aquatic versions), or another door, banner, or gate (all versions) inside the first door. Afterward, you can remove the first door to create a seamless entrance. You can even turn around and work backward into the water to expand your base in that direction.

For a discreet entrance, you can dig a 1x1 shaft downwards from your safe air bubble until you reach solid rock. From there, you can continue building as desired. To avoid the risk of falling into a cave, it is recommended to stand on the border of two blocks while digging, first to the left and then to the right as you descend.
To prevent flooding in case of a disaster, it is prudent to dig down one block from the floor level before digging horizontally. If the blocks holding back the water are somehow broken, the incoming water will drop into the hole and cease there.
Another precaution to avoid flood damage is to use light sources that water cannot wash away, such as jack o'lanterns, glowstone, or sea lanterns. Regular torches would be swept away in case of flooding, but underwater torches can be utilized in addition to the mentioned items.
Constructing an airlock at every door and making double-thick windows are additional beneficial measures to consider.
4. Clearing out water
To create an underwater base resembling a bubble, it is necessary to remove water from a considerable volume.
The conventional approach involves filling the space with a falling block like sand or gravel and then excavating it entirely. This method works well when the walls are already constructed and can be capped with solid blocks once the space is filled. If you have an ample supply of slime blocks, honey blocks, or TNT, they serve as effective fillers since they can be instantly mined even when fatigued by an elder guardian.
Alternatively, you can opt to fill the space with flammable blocks such as wood planks, wool, or leaf blocks. It should be noted that fire does not burn evenly, so some manual cleanup might be necessary after the burning process.
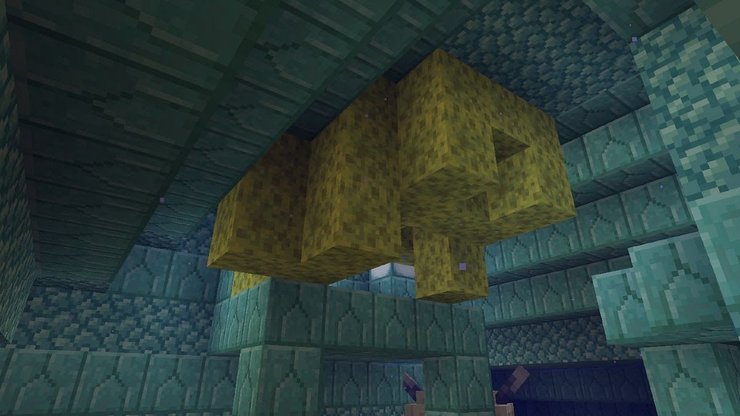
Utilizing sponges is an excellent way to dry out a large volume of water. Sponges can be obtained from ocean monuments. If you choose to dry out ocean monuments using the aforementioned methods until you locate sponges, keep in mind that it may be time-consuming but eliminates the risk of drowning in case you become lost within the monument. When a sponge is placed, it absorbs water in a 9x9x9 volume centered around itself and transforms into a wet sponge. Make sure to bring enough wood and cobblestone with you to create a crafting table and furnace for drying the sponges.
For larger spaces, you can divide them into smaller sections using fences, gates, doors, or other suitable materials. This allows for drying out the area in chunks.
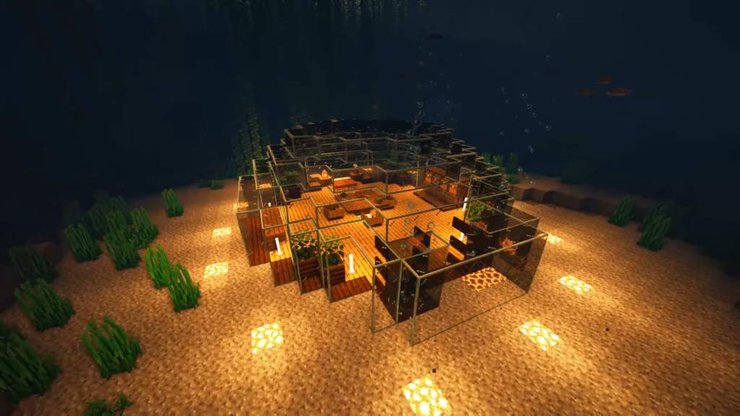
Constructing the walls and ceiling of the bubble base with materials like glass, fences, or iron bars provides a stunning view both from the inside and outside of the base. Under the right conditions, a bubble base becomes a radiant beacon beneath the sea, catching the attention of anyone passing by.
>>> Read more: How To Defend Your Village From A Raid In Minecraft 1.20


Comments