Achieving three stars in each typically requires around 4,000 points, earned by completing the tied activities and extracting safely to Speranza.
1. Damage Bastions (3 Stars: 4,000 Points)
Objective: Deal damage to (and ideally destroy) Bastions, the four-legged machinegun minibosses.
Best Maps/Locations:
- Stella Montis: Loading Bay (guaranteed spawns, great cover).
- Spaceport: Departure Building or Container Storage during Night Raid/Electromagnetic Storm.
- Blue Gate: Warehouse Complex (high spawn chance).
Recommended Loadout:
| Slot | Item |
|---|---|
| Primary | Anvil/Ferro/Renegade (IV tier preferred) |
| Secondary | Kettle (III/IV with extended mag) |
| Ammo | 120 Heavy / 240 Medium |
| Gear | Light/Medium Shield, Shield Rechargers, Normal/Herbal Bandages |
| Consumables | 4x Trailblazers or 2x Deadlines (optional), Showstopper for stun |
Step-by-Step Strategy:
- Enter with a squad: One player baits the Bastion's aggro while others flank.
- Target yellow leg joints to stun it, then shoot the rear yellow canister weakspot.
- Once core exposes, unload into it. Repeat for a second Bastion (destroys two for easy 4,000+ points).
- Extract via nearby stations like Metro or Central Elevator.
Pro Tip: This overlaps with Trial #5, doubling efficiency.
2. Destroy Ticks, Fireballs, and Pops (3 Stars: 4,000 Points)
Objective: Eliminate these small, explosive indoor pests (Ticks crawl/explode, Fireballs roll/shoot, Pops burst).
Best Maps/Locations:
- Buried City (Night Raid): Northeast loop - Hospital > Parking Garage > Research > Space Travel > Galleria (respawns galore).
- Stella Montis: Narrow corridors/rooms.
- Dam Battlegrounds: Water Treatment, Control Tower, Research & Administration.
- Blue Gate/Stella Montis enclosed areas.
Recommended Loadout:
| Slot | Item |
|---|---|
| Primary | Kettle (III/IV extended mag) |
| Secondary | Anvil (IV) |
| Ammo | 80 Heavy / 160 Light |
| Gear | Light/Medium Shield, Shield Rechargers, Bandages |
Step-by-Step Strategy:
- Clear buildings methodically - prioritize Fireballs for highest XP (314 with bonus).
- Loop the route 2-3 times; enemies respawn.
- Avoid clusters to prevent chain explosions.
- Extract once at 4,000+.
Pro Tip: One heavy shot per enemy; focus Fireballs.
3. Damage Wasps (3 Stars: 4,000 Points)
Objective: Damage (destroy for bonus XP) these weak flying drones (need ~4 for 4,000; 550-1,100 XP each with bonus).
Best Maps/Locations:
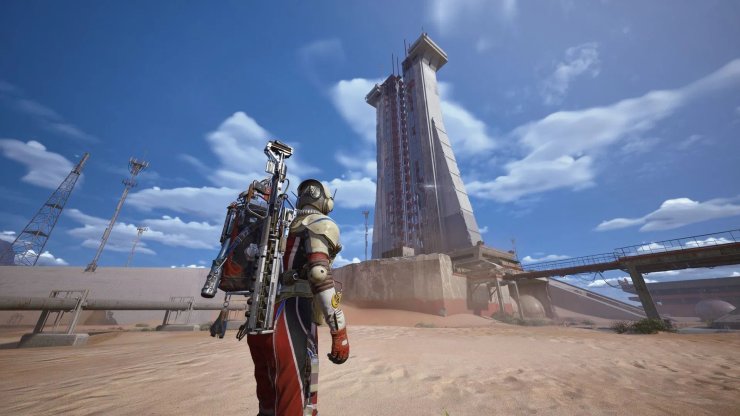
- Spaceport (Night Raid/Storm): Launch Towers - bait with Snitches.
- Blue Gate: Open skies for spotting; use ziplines/Osprey range.
Recommended Loadout:
| Slot | Item |
|---|---|
| Primary | Anvil/Ferro/Kettle/Renegade or Osprey sniper |
| Ammo | 120 Heavy / 240 Light/Medium |
| Gear | Light/Medium Shield, Shield Rechargers, Bandages |
Step-by-Step Strategy:
- Scout skies/towers; shoot main body first, then thrusters/wings to ground them.
- Watch for escort Hornets.
- Track Central Elevator timer for extract.
- Destroy 4+ for overkill score.
Pro Tip: Heavy ammo two-shots them; damage only needed, but kills boost leaderboard.
4. Harvest Plants (3 Stars: 4,000 Points)
Objective: Harvest interactable plants like Great Mullein, Mushrooms, Agave (250-500 XP each; ~16 normal or 8 with bonus). Fruits/trees don't count!
Best Maps/Locations:
- Dam Battlegrounds (Night Raid/Storm/Lush Bloom): Old Battlegrounds > Hydroponic Dome > Water Treatment swamps.
- Buried City: Galleria (3 floors), Marano Park.
- Blue Gate: Olive Grove (but skip fruits).
Recommended Loadout:
Free/low-risk - Any primary, ammo stacks, Light Shield, Rechargers, Bandages, Adrenaline Shots (for PvP competition).
Step-by-Step Strategy:
- Follow green-arrow core routes; hit POI clusters like Scrap Yard/Wreckage.
- Interact for "Harvest" prompt only.
- Lush Bloom spawns extras faster.
- Extract from nearest elevator.
Pro Tip: Safest trial - go naked if solo.
5. Damage Rocketeers, Leapers, or Bastions (3 Stars: 4,000 Points)
Objective: Damage these minibosses (Rocketeers fly/rocket, Leapers jump/AoE, Bastions covered in #1). One full damage run often hits 4,000+.
Best Maps/Locations:
- Spaceport (Storm/Night): Launch Towers.
- Blue Gate: Radio tower zipline (Rocketeers), Reinforced Reception (Leapers), Gate Approach/Traffic Tunnel/Pilgrim’s Peak (all three).
Recommended Loadout:
| Slot | Item |
|---|---|
| Primary | Anvil/Ferro/Renegade |
| Ammo | 4 stacks |
| Gear | Medium Shield, Rechargers, Herbal Bandages |
| Consumables | 4x Wolfpacks (Rocketeers), 4x Blaze Grenades (Leapers), 6x Trailblazers (Bastions) |
Step-by-Step Strategy:
- Lure to stairs/corridors for cover.
- Rocketeers: Thrusters with rockets/Osprey. Leapers: Blaze. Bastions: Trailblazers (per #1).
- Chain kills for leaderboard push.
- Extract Central Elevator.
Pro Tip: Stack with #1 via Bastions; avoid Deadlines up close.
Rack up those stars, climb leaderboards, and snag rewards. Queue during peak events and run multiples for personal bests. Good hunting, Raiders!


Comments