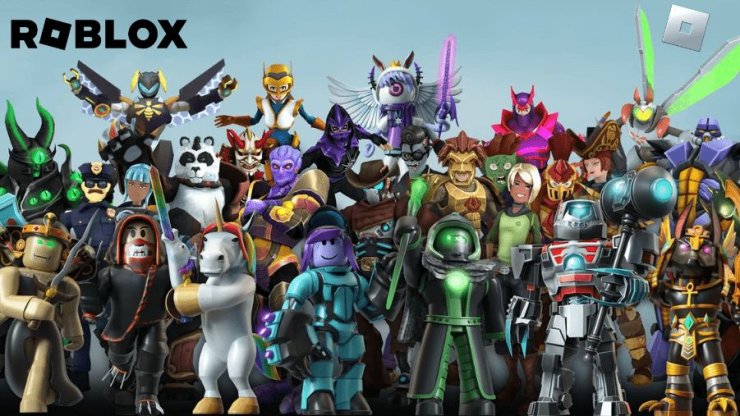
Roblox is an online platform where you can create, share, and play games. It’s one of the biggest gaming platforms out there, with tons of users jumping in daily. Whether you’re new to game development or a seasoned creator, Roblox offers tools to craft everything from basic puzzle games to complex shooters, role-playing adventures, or simulations. Plus, it’s got a social side where you can chat with friends, make new ones, and join groups to play together.
Today, we’re walking you through a beginner-friendly Roblox tutorial to build an obstacle course, or “obby.” We’ll show you how to use Roblox Studio, break down its features step-by-step, and share tips to customize your game. You’ll also get ideas for other Roblox game types to spark your creativity.
How to Create a Roblox Game
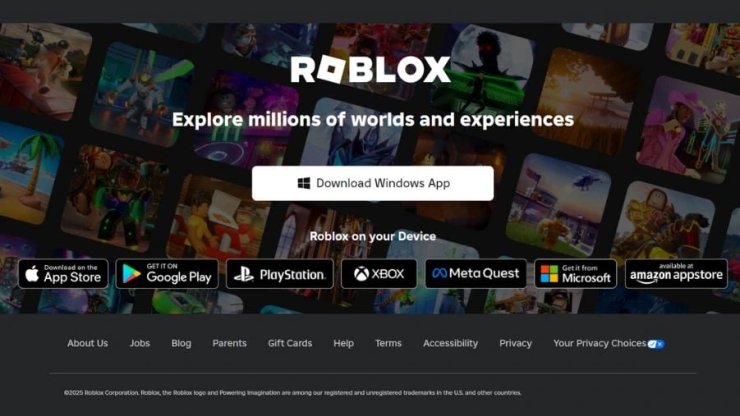
Roblox Studio is the tool you’ll use to build game worlds, design characters, add items, write scripts, and test everything. To get started, sign up for a Roblox account on their website, then download Roblox Studio onto your computer. You can access it through the installed app or the “Create” tab on the Roblox site.
Step 1: Set Up Roblox Studio
- Download and Open Roblox Studio
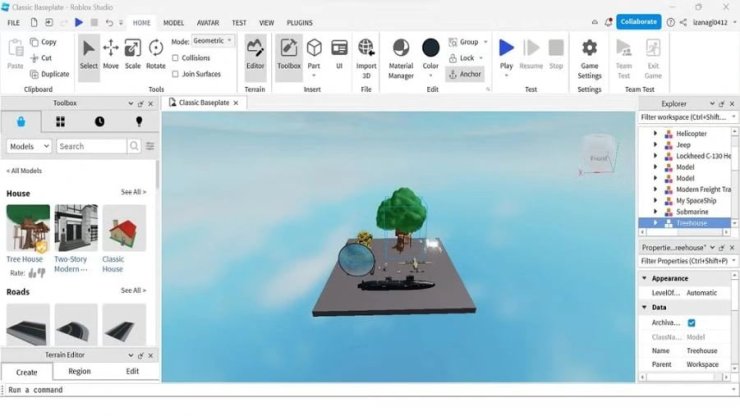
Grab Roblox Studio from the official site if you don’t have it yet. Once installed, fire it up on your computer. - Check Out Templates
In Roblox Studio, hit the “New” tab. You’ll see a section labeled “All Templates” at the top. - Pick the “Obby” Template
Select the “Obby” template from the list and let it load. Each template is a ready-made world you can tweak to fit your vision. - Get Familiar with the Workspace
Once loaded, you’ll spot a big green block labeled “Start”—that’s where players begin. Move around using WASD keys and your mouse. - Add Some Color
Click a gray block after the “Start” block. Under the “Home” menu, choose “Color” to open a dropdown. Pick a color and apply it to as many blocks as you want. - Tweak Obstacle Speed
After the next spawn point, you’ll see purple conveyor blocks that push players in different directions. Click one, open the explorer window, and find the “Configuration” folder. Adjust the “Speed” value to make conveyors faster or slower. Repeat for other conveyors. - Add Dangerous Obstacles
Red blocks hurt players when touched. Use the “Scale” tool in the “Home” tab to resize them or the “Move” tool to reposition them. - Polish a Barrier
In the next section, use the “Rotate” tool to tilt some blocks. Click and drag the blue circle to rotate them vertically. - Test Your Game
When you’re happy with your changes, hit the blue “Play” button at the top to try your game. - Resize Blocks for Challenge
After the next spawn point, find blocks with blue stars. Use the “Scale” tool in the “Home” tab to shrink them, then rearrange them with the “Move” tool to make the course tougher.
Step 2: Pick Your Game Type

We used the Obby template above, but you can follow similar steps with other templates. Roblox Studio offers several to kickstart your project:
- Obby (Obstacle Course): Build challenging courses for players to navigate.
- Tycoon: Create games where players run their own businesses.
- Simulator: Design realistic scenarios mimicking real-life situations.
- Racing: Make tracks for fast-paced racing games.
- Adventure: Craft immersive worlds for players to explore.
Choose a template that matches your game idea to streamline the creation process.
Step 3: Make It Your Own
Now that you’ve got a template, customize it:
- Add Assets: Browse the asset library for models, textures, and sounds to spice up your game.
- Shape the Terrain: Use the terrain editor to mold the landscape.
- Write Scripts: Use Roblox Studio’s code editor to add unique gameplay mechanics with Lua scripting.
Test everything by hitting the “Play” button to ensure it all works smoothly.
Step 4: Share Your Game
Once your game is ready, let the world play it:
- Save Your Work: Make sure all changes are saved.
- Publish: Go to “File” in the top left, then select “Publish to Roblox As…”
- Add Details: Give your game a catchy title, a clear description, and relevant tags to attract players.
- Set Permissions: Decide if your game is public or private and tweak other settings.
After publishing, your game will be live on the Roblox platform for others to enjoy.
Step 5: Get Players to Notice
To boost your game’s popularity:
- Share Online: Post about your game on platforms like Twitter, Facebook, or Instagram.
- Connect with Others: Join Roblox forums and groups to chat with developers and players.
- Host Events: Run in-game events or competitions to draw in players.
- Improve Based on Feedback: Listen to player suggestions to make your game even better.
Creating a Roblox game is a blast, no matter your skill level. Roblox Studio’s easy-to-use tools make game development accessible, and with the steps above, you can build, tweak, test, and share your creation with the Roblox community. Whether you’re crafting an obby, tycoon, or adventure game, Roblox’s templates and customization options let you bring your ideas to life. Test thoroughly to ensure everything works, and use social media and community engagement to get players excited. With Roblox Studio, you can sharpen your coding and creative skills while having fun in a supportive community.


Comments