The Inventor’s hideout is tucked away in Australia, and it’s a bit of a pain to reach unless you know the trick. Getting to him and dropping off cargo takes some effort, but the stuff he gives you might make it worth the trip.
If you’re set on finding the Inventor in Death Stranding 2 and checking out what he’s got for you at a 5-star connection, you’re in the right spot before you head out.
How to Get to The Inventor in Death Stranding 2
The Inventor’s place is up north in Australia. You’ll want to go past the Mine North of F1 and stick to the beach until you spot an island surrounded by a nasty tar ocean. Before you even try to get there, grab some of his lost cargo from the beach near his place. Having his cargo lets you talk to him and hook him up to the Chiral Network.
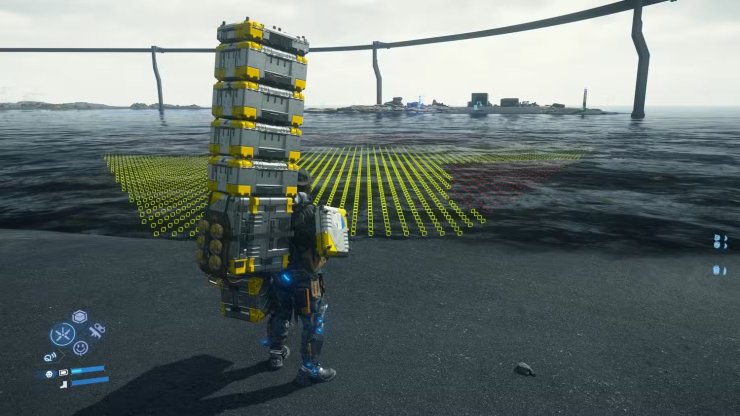
Here’s the easiest way to reach the Inventor: Follow the beach until you’re right across from the island. Use the Odradek scanner (L1) to check the tar. It’ll show a safe yellow path you can walk on—stick to it. If you step into the red zones, you’ll sink, Sam will die, and you’ll lose your cargo. Keep scanning with L1 as you move to stay on the safe route.
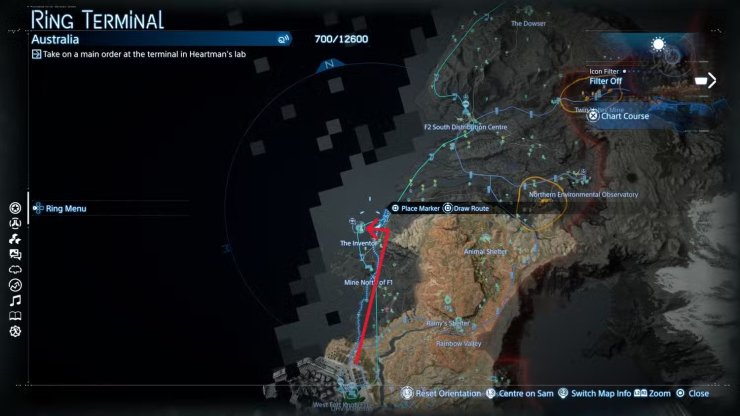
If you want another way, you can finish Order 13 to fix the Monorail and the Mine North of F1. This boosts the Chiral Network, giving you access to some handy tools, and extends the Monorail over the Inventor’s shelter. You can jump off the Monorail at the right spot to land at his place with your cargo. Just remember, you’ll still need to cross the tar carefully to get back to the mainland.
All of The Inventor’s Connection Rewards in Death Stranding 2
How to Speak and Raise Connection with The Inventor
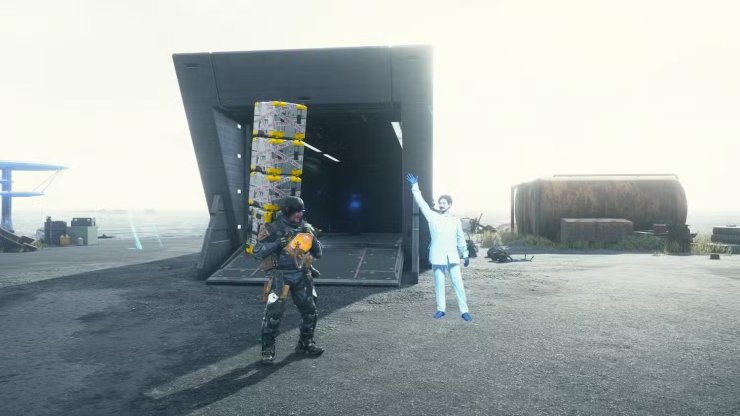
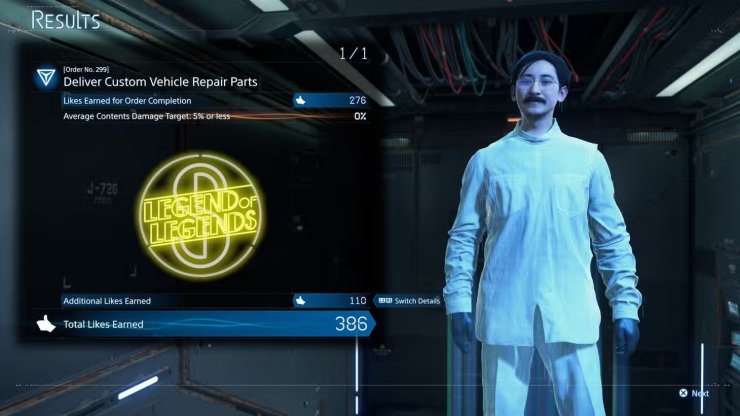
Once you reach the Inventor, hand over a piece of lost cargo to link him to the Chiral Network. Doesn’t matter what shape the cargo’s in—you’ll get the first star and the Level 1 reward right away. To get the rest, keep delivering cargo to him. Drop them off one at a time for slightly more likes over time. Here’s what he offers and whether it’s worth it:
| Level | Reward | Is It Worth It? |
|---|---|---|
| Level 1 | Otter Hood | Yes, the Otter Hood helps you swim better and keeps Sam from drowning when he’s worn out. |
| Level 2 | Stun Bomb | Yes, the Stun Bomb shocks enemies, knocking out humans and shutting down vehicles for a bit. Doesn’t work on BTs. |
| Level 3 | Remote Stun Bomb | Yes, it’s like the Stun Bomb but sticks to surfaces and can be set off remotely. Great for traps on cargo, vehicles, or downed enemies to catch their MULE buddies. |
| Level 4 | Bola Stun Gun | Yes, this is the Inventor’s best reward. It knocks out enemies with any hit, so no need for headshots. Useless against BTs, but it’s the top weapon for human enemies in Death Stranding 2. |
| Level 5 | Custom Hologram: The Inventor Patch 63: Otter Hood |
Not really. The holograms are just for show on tools for other players to see, and the Otter Hood Patch is just a backpack decoration—better slots exist for other gear. Still, it’s nice for completionists, so you might want to grab it anyway. |


Comments