In Free Fire, knowing how to bounce back from a knockdown or heal up fast can save your game. Forget just spamming medkits or hiding behind Gloo Walls—real survival comes from picking the right skills and characters.
This guide covers all the ways to self-revive, heal up, and use recovery-focused characters in Free Fire.
What Is Self-Revive in Free Fire?

Self-revive means getting yourself back up after being knocked out, no teammates needed. It’s a game-changer in Battle Royale and comes from specific skills or items.
Available Self-Revive Sources:
- Dimitri’s active ability
- Self-Revive Card (Battle Royale only)
- Clash Squad revive system
- Special event gear or pet skills
Healing-focused characters also help a ton, keeping you alive longer in fights or tough zones.
Core Recovery Types in Free Fire
Here’s the breakdown of recovery mechanics:
| Type | What It Does | Best For |
|---|---|---|
| Self-Revive | Gets you back up after a knock | Solo play, clutch moments late-game |
| HP Recovery | Quick or gradual health restoration | Fights and repositioning |
| EP Recovery | Slowly turns energy into health | Surviving zones, supporting teammates |
Pair these with the right weapons—some skills work better with SMGs, others with shotguns or DMRs. Check weapon synergy for max effect.
Top Characters for Recovery and Self-Revive
These characters keep you in the fight, even when things go south.
1. Dimitri – Healing Heartbeat (Active Skill)
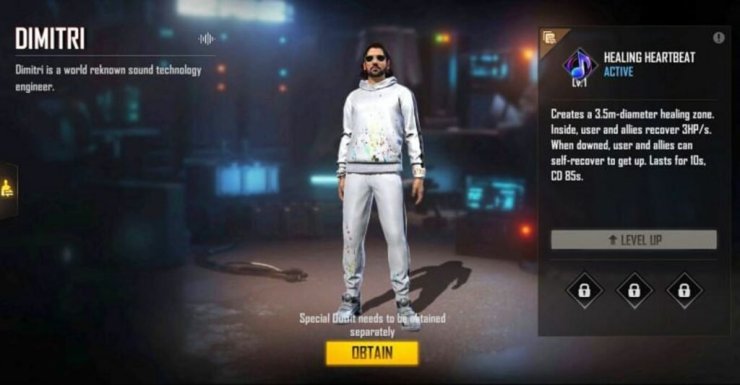
Effect: Sets up a zone that heals allies and lets you self-revive.
Why It’s Good:
- Only direct self-revive skill in the game
- Works in solo or squad play
- Great against surprise attacks
Tip: Pop a Gloo Wall before reviving to stay safe.
Dimitri’s a go-to in competitive solo queues for his revive and healing.
2. K – Master of All (Active Skill)
Effect: Switches between EP healing and EP generation.
Why It’s Good:
- Keeps you regenerating without items
- Perfect for surviving long zones
Best Combo: Miguel (EP on kills), Maxim (faster item use), Dasha (better recovery)
3. Alok – Drop the Beat (Active Skill)
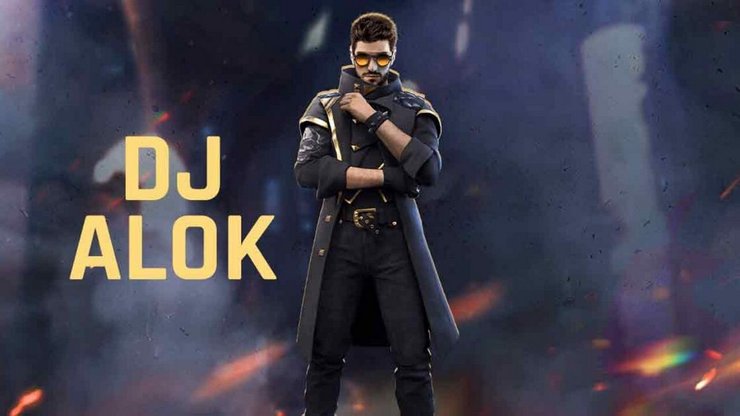
Effect: Creates an aura for healing and faster movement.
Why It’s Good:
- Awesome for squad plays and quick moves
- Helps reposition mid-fight
Tip: Pair with a Gloo Wall to shift from defense to attack.
4. Jota – Sustained Raids (Passive Skill)
Effect: Heals HP when you deal damage with shotguns or SMGs.
Why It’s Good:
- Heals during fights
- Rewards aggressive play
- Perfect for close-range setups
Recommended Loadout: MP40, M1887, MAG-7
5. Dasha – Partying On (Passive Skill)
Effect: Cuts fall damage, speeds recovery, improves recoil control.
Why It’s Good:
- Saves you from risky moves
- Great for maps with height or high-ground fights
- Boosts passive survival
6. Kapella – Healing Song (Passive Skill)
Effect: Boosts healing effects and slows bleed-out.
Why It’s Good:
- Powers up all healing skills and items
- Perfect for squad revives
- Makes medkits work better
Items That Enhance Recovery
1. Self-Revive Card (Battle Royale Only)
- One-time use, found in vending machines or airdrops
- Revives you instantly from a knock
- Use it when you’re hidden and have no backup.
2. Inhalers
- Restore HP and EP
- Usable while moving
- Great for healing on the go
3. Mushrooms
- Slowly restore EP
- Ideal for pre-fight prep or long survival
- Pair with K, Miguel, or Maxim
Best Characters for Clash Squad Recovery

Clash Squad doesn’t have true self-revive, but healing is key because of:
- Tight maps
- Fast-paced fights
- High burst damage
Top Picks:
- Alok: Mid-fight healing
- Dimitri: Revival and support
- Jota: Sustains in duels
- K: Steady regeneration
These keep you tough and in control through rounds.
Sample Loadouts by Role
| Playstyle | Loadout Example |
|---|---|
| Solo Survivor | Dimitri (Active) + K + Dasha + Miguel |
| Support Medic | Alok (Active) + Kapella + Jota + Olivia |
| Aggressive Rusher | Xayne (Active) + Jota + Kelly + Dasha |
| Zone Healer | K (Active) + Miguel + Dasha + Maxim |
Tweak loadouts based on mode, map, and your team role.
Self-revive and healing skills are your safety net in Free Fire’s chaos. Whether it’s a surprise attack or a bad zone play, the right setup turns a loss into a win.


Comments