With millions of players indulging in the battleground every day, Free Fire has come up with several servers around the globe. If a newcomer signs up for a new account in Free Fire, the in-game system will redirect him to the nearest server to step into the battle royale vibes.
Technically speaking, no players are given the freedom to select the servers they will partake in for future matches. Only the nearest server is in use to ensure the stability of the network and overall performance stats like ping.
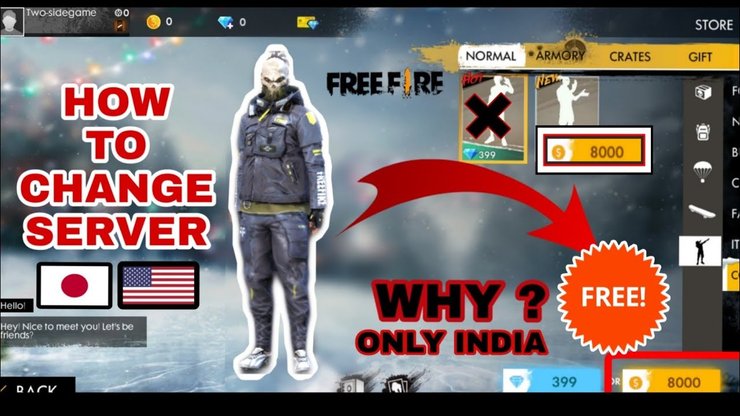
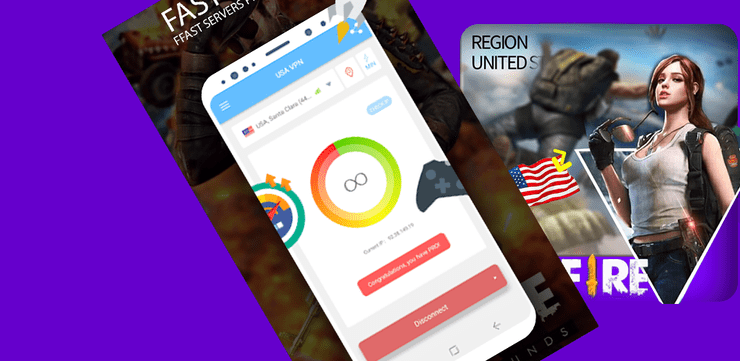
The good news right here is that you’re still able to change your Free Fire servers by using Virtual Private Networks, which are popularly known as VPNs. It won’t take you too much time to change the servers, so follow the steps provided below to get it done:
Step 1: Download a VPN tool based on your preferences and needs.
Step 2: Go to settings and clear the app data of Free Fire
Note: Make sure you have bound your current account to Google or Facebook before you do this.
Step 3: Use the VPN to change your location to your desired region/server.
Step 4: Launch Free Fire then create a Guest Account.
Step 5: Once done, you can switch the VPN off but your server will remain the same.
Disclaimer: Changing Free Fire servers sounds really fun but be careful! One of the most annoying drawbacks is that you’ll no doubt have to face higher pings. There’s no way to resolve such extra latency for the time being, but wish you all the best with this fast-paced battle royale!
Read More: A Complete Free Fire Gun Skin Photo Collection For All Gun Types So Far!


Comments