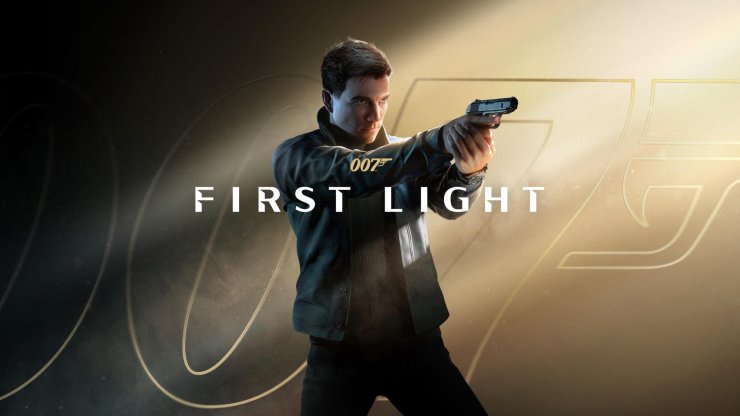
Mementos are personal collectibles scattered across the missions of 007 First Light. There are exactly 14 of them, and grabbing every single one unlocks the Recovered Assets achievement or trophy. These items often tie into the story and provide a bit of extra flavor to Bond's world. They appear in specific spots during story progression, sometimes requiring a bit of exploration, pickpocketing, or backtracking once you have enough cash or access.
Below is every memento listed in the order you encounter their missions, with clear steps to locate each one. Follow the checkpoints and objectives noted for the easiest path.
Against the Odds (Chapter 1) - Satellite Part
Checkpoint: 06 Central Camp. Objective: Save the captives or free the captives in container G9. As soon as you enter container G9 for the story objective, the Satellite Part sits right in front of you on a table next to the computer screen.
A Night Out (Chapter 6) - Cocktail Napkin
Checkpoint: 05 Get upstairs. Objective: Get to the upstairs lounge. Head behind the bar (you pass this area while following the Staff Only objective). You can walk in after using the Bluff prompt or shoot the bartender with the Dart Phone to distract him. The Cocktail Napkin rests on the counter behind the bar.
All the Time in the World (Chapter 8) - Pillow Mint
Checkpoint: 03 The game is on. Objective: Search the hotel. From the start of this checkpoint (the large room filled with guests), go left to find the Staff Only door just before the stairs leading down. A staffer nearby has a pickpocket prompt. Distract him with the Dart Phone or the vacuum at the top of the stairs, then loot his key. Enter the Staff Only room and pick up the Pillow Mint from the wooden cabinet next to the chair blocking a door.
All the Time in the World (Chapter 8) - Championship Badge
Checkpoint: 03 The game is on. Objective: Search the hotel. Go downstairs to the central room where two people play chess on stage. Two big screens sit behind the players. Squeeze through the gap on the left side of the leftmost screen to reach the backstage area, then turn left immediately into the side corridor. The Championship Badge sits on a crate.
The Past Never Dies (Chapter 10) - Pirate Grillz
Checkpoint: 03 Black Market. Objective: Speak to Barkhad Ali or pay auction fee. After you earn the $100,000 required for story progress, return to the start of the market. Straight ahead from the ramp where you first entered, a merchant in a white shirt stands under a red umbrella (to the right of the pawn shop). Interact with the item on his stand to buy the Pirate Grillz automatically.
The Past Never Dies (Chapter 10) - Crocodile Tooth
Checkpoint: 09 Leaving Aleph. Objective: Enter Land Rover. Before you get in the vehicle, look behind the Land Rover on the right side. The Crocodile Tooth waits on a crate.
Uninvited (Chapter 11) - Anniversary Pin
Checkpoint: 05 Get upstairs. Objective: Find the assassin. Once inside the main gala room, go left into the corridor and turn left again to the end. A restricted area holds a single guard in a white shirt. Distract him with a gadget such as the Dart Phone or Laser, then slip into the Cloakroom. Turn right and squeeze through the gap to reach the shelf where the Anniversary Pin sits.
Uninvited (Chapter 11) - Tero Murto Locket
Checkpoint: 07 Basement. Objective: Confront Sir Nicholas Webb. After the Murto boss fight, leave the arena and enter the first room on the right in the next corridor (labeled Room 4 Restoration). Open the metal box inside for the Restoration Room Keycard. Use it on the door directly across the hall (Room 3 Restoration). The Tero Murto Locket rests on the right table inside.
Knightfall (Chapter 12) - Office Toy
Checkpoint: 02 Executive 1st Floor. Objective: Bypass the sensors. In the hallway with the invisible sensors, head down the right hallway and have Greenway help move the furniture out of the way. Crawl through the new opening into the vent, then take the first exit on the left to enter an office. The Office Toy sits on the counter in the top right of the room, near a large painting.
Time to Die (Chapter 14) - Diving Watch
Checkpoint: 07 Suit up. Objective: Join the party. After the QTE where you tie your bowtie, turn around. The Diving Watch sits on the nightstand to the right of the bed.
Man of the Hour (Chapter 15) - Niko Murto Locket
Checkpoint: 02 Stand down. Objective: Talk to Moneypenny. In the starting room for this objective, look on a desk on the second-lowest level (near where you can talk to Basil). From your starting position it sits slightly to the left and down the short stairs.
Wave of the Future (Chapter 16) - Snow Globe
Checkpoint: 04 The gate house. Objective: Access the cable car. Approach the reception desk in the area where you need to get two ID wristbands. The Snow Globe rests on the right side of the reception desk counter.
Wave of the Future (Chapter 16) - Robot Keychain
Checkpoint: 19 Silo entrance. Objective: Reach HYPERION. After the long climb down the reactor (silo), use the zipline to the bottom floor and crouch through the AC vent. When you drop out of the vent into the office, the Robot Keychain sits on the podium behind you.
For England (Chapter 17) - Dashboard Toy
Checkpoint: 14 Q Lab showdown. Objective: Find Valhalla keys. Once you reach the Q-Lab, head into the Q-07 Wearables section (the area tied to the main objective). The Dashboard Toy sits on the small coffee table.
Collect them in a single playthrough or via chapter select if you miss any. Most are impossible to permanently miss since you can replay missions, but a few (like the Pirate Grillz) require story progress before they become available. With this guide you will have the full set and the Recovered Assets achievement in no time. Enjoy the extra insight these mementos add to Bond's journey.









Comments