Resident Evil 4 Remake, which was launched on April 7th, 2023, includes a new mode called The Mercenaries, which is a modernized version of the classic mode featured in many Resident Evil games. In this mode, players are challenged to defeat a maximum of 150 enemies within a specific time limit, reminiscent of a wave-based assault mode. The objective is to complete the task before time expires, or risk failure.
When playing this mode, players are given the option to choose from various characters, but only one is accessible from the beginning. The other characters can be unlocked over time. There are three primary stages to select from. The objective is to accumulate points by destroying enemies that appear regularly throughout the level. Killing enemies can also earn players small time bonuses. Each character starts the game with a distinctive set of weapons and equipment, as well as individual abilities that differ from one another.
How to get the best scores
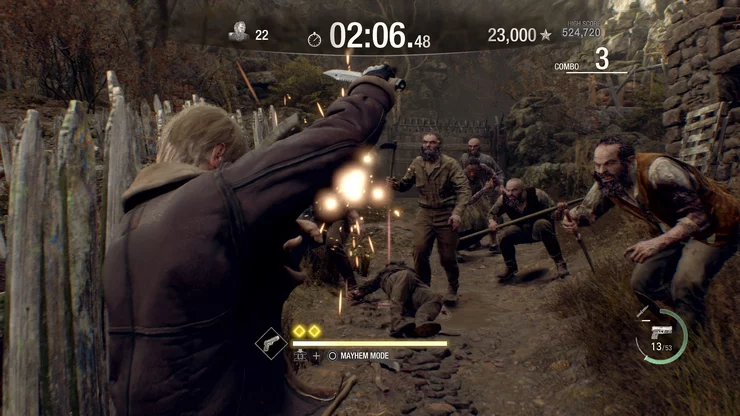
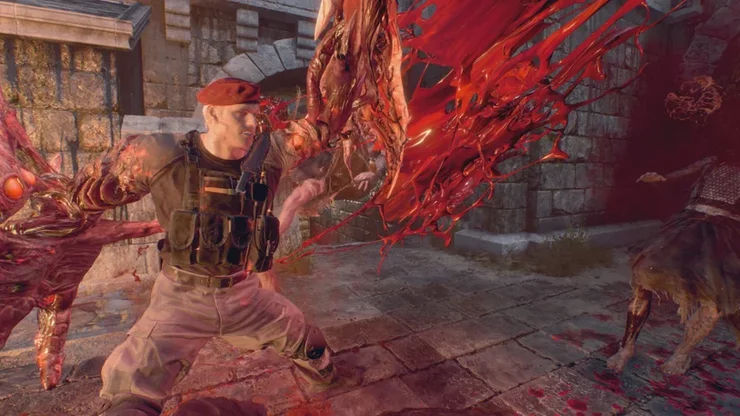
To achieve the highest scores possible, players must utilize strategic tactics to avoid being overwhelmed by enemies and eliminate them promptly to prevent the timer from running out. Additionally, a "Mayhem Meter" will fill up gradually and can be increased further by parrying or defeating enemy attacks. Each character has a unique Mayhem Mode, which can be activated for a limited time to deal additional damage and use unique abilities.
At the beginning of the level, players have two minutes to eliminate all enemies, with up to 150 enemies appearing progressively. Fortunately, players can extend the timer in several ways, such as earning two seconds for each enemy killed or collecting green orbs placed randomly throughout the level, which grant an additional 30 seconds.
When playing the game mode, players receive points for defeating enemies, which will determine their ranking at the end of the level, whether they die, run out of time, or defeat all enemies. The score determines the rank achieved, with different rankings available based on the score achieved:
- C Rank: (0 - 49,999 Points)
- B Rank: (50,000 - 99,999 Points)
- A Rank: (100,000 - 199,999 Points)
- S Rank: (200,000 - 499,999 Points)
- S+ Rank: (500,000 - 999,999 Points)
- S++ Rank: (1,000,000 Points+)
For each defeated enemy, players receive 500 points. Building a combo by defeating multiple enemies in a row increases the points earned, with each point earned after the first adding to a banked total that is awarded at the end of the combo. The combo score (minus one) is multiplied by 500 until a combo of 11 is reached, at which point the multiplier increases to 1,000. The multiplier can increase even higher to reach a combo of 100 or more. Boss enemies such as Brutes and Chainsaw Villagers award much more points, ranging from 5,000 to 8,000, and players will earn additional bonuses when reaching certain kill milestones.
Defeating all 150 enemies will grant you a significant bonus of 100,000 points, and any extra time left on the clock will be converted into points as well, which can help boost your ranking. As your combo score grows past 10, you'll gain a modifier for the time regained per kill, starting at 1.1x and increasing by 0.1 with each combo level. Maintaining your combo is essential for earning high scores because it allows you to bank more bonus points and keep fighting for longer. Additionally, hitting certain milestones for the number of enemies killed will grant you increased time back.
Mayhem Mode isn't just for increasing your damage output. While active, every hit you land with a weapon will also earn you points, with the point value depending on both the weapon type and the body part you hit. This allows you to rack up a lot of points for scoring multiple headshots quickly. Furthermore, you'll gain twice the amount of time regained per kill while in Mayhem Mode, increasing the base 2 seconds regained to 4, and the amount will be affected by your combo modifier.
Achieving high scores requires learning the map, using explosive barrels and finding item locations, and maintaining your combo as much as possible. Although it's possible to keep your combo going for all 150 enemies, you'll need to strategically space your attacks to avoid lulls in the battle and stay ahead of your enemies to avoid getting overwhelmed. Use your Mayhem Mode not just to defeat tough enemies, but also to refresh your time and increase your point values at the right time. Saving your Mayhem Mode until you have plenty of enemies to use it on is often a better strategy.
The Mercenaries Mode - Characters And Tips
Leon
Utilize Leon's versatile weapon loadout to take down enemies. Use the Handgun or Combat Knife to deal with normal enemies, use the Riot Gun to clear crowds or take down mini-bosses, and use the Stingray to snipe troublesome enemies or Plaga from a distance. Kill enemies to slowly regain ammo for your weapons, and swap weapons as needed to ensure that you always have enough ammo.
Leon is faster than some other characters, so use his mobility to stay ahead of enemies. Move around quickly, take out a few enemies, and look for an exit before you get overwhelmed. Use Leon's melee attacks to stun enemies and control crowds, killing any Ganado caught in the effect radius. Be sure to use this when you're in danger of being surrounded to create an opening to escape.
Since Leon doesn't start with any grenades, be sure to search buildings or areas where items are left on ledges to find a few, so you always have a backup to stun and clear out groups of enemies or deal with various Plaga quickly. Leon can bank up to two nodes for his Mayhem Mode, which can be used to increase firepower and quickly take down crowds with well-placed pistol shots. If the Mayhem Meter fills up all the nodes, it will drain much more slowly, allowing you to use it for longer.
Luis
Luis lacks the agility of Leon and is vulnerable to being overwhelmed by enemies if you're not cautious. To avoid this, you should plan ahead and always know your escape routes. Save your rifle ammunition for tougher enemies and long-range threats. Instead, use your Red9 pistol to overpower foes at medium or close range, while still maintaining a safe distance.
Although Luis' melee attacks offer invulnerability frames, they are slow to execute and can lead to flanking by enemies. However, his swing can hit multiple targets, and his shoulder charge can push through a crowd. When his Mayhem Mode is activated, Luis can deploy Dynamite and benefit from increased power as the meter goes down. You can activate the meter after getting the first node to slow down its depletion.
During Mayhem Mode, Luis can only drop one Dynamite at a time, but you can deploy another by detonating it or letting it explode on its own. You'll likely only have time for two Dynamites when the meter is full to the first node, but more if the meter is allowed to fill up again. Use Dynamite strategically to maximize your kill count by placing it at chokepoints or where enemies will gather before retreating, or by shooting it when a mini-boss passes by.
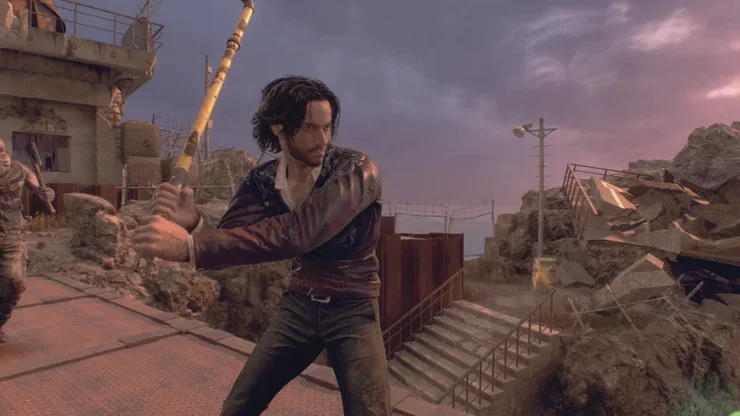
Krauser
Make sure you take advantage of Krauser's Fighting Knife in combat. It has a long reach and can cut through groups of enemies quickly due to Krauser's speed with it. Additionally, the knife is indestructible in this mode. When holding the Fighting Knife, Krauser has unique movement abilities that can be used to engage or disengage from enemies and chain into attack combos.
While Krauser's ranged options are limited, his Explosive Arrows should be saved for taking out enemy snipers or minibosses. You can find a few more arrows as drops, but they are scarce. Krauser's Compound Bow is unique in that you can't move while aiming, so make sure to have good spacing from enemies before using it.
Krauser can only store one full Mayhem Meter, so use it wisely. His claws can tear through enemies, and the Striker lunge move can impale enemies at medium range, but it will use up a lot more of the meter.
Hunk
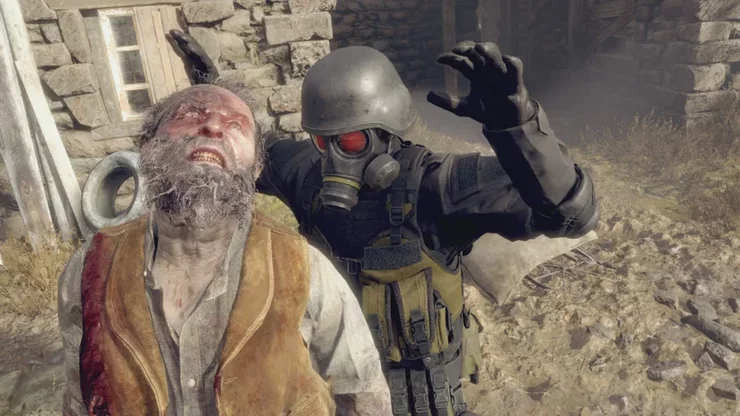
Hunk's melee neck snap is useful, but it shouldn't be relied on too heavily. Although it can instantly kill enemies, even stunned minibosses, the move takes a while to execute and doesn't knock down any other enemies. Overusing it can result in being quickly overwhelmed, so it's better to switch to his Boot Knife or shoot enemies' legs to make them kneel, allowing for a much faster melee strike.
With only a Submachine Gun, Hunk lacks crowd control options. To compensate, use Hand Grenades sparingly and keep an eye out for additional ammo in each level, which can often be found on ledges or in crates and chests.
Hunk's Mayhem Ability provides infinite ammo, but since you'll only have Submachine Gun Ammo, conserving your shots will likely leave you with a surplus of ammo. The key point of the Mayhem Ability is that you won't need to reload until the meter runs out.
To maximize Hunk's Mayhem Mode, lure enemies into narrow chokepoints to cluster them up before activating it. This will allow you to mow down swathes of foes in just a few seconds. Stun minibosses rapidly to snap their necks, but be aware that doing so will waste some of your meter, so it's often better to keep firing until the meter ends.
>>> Read more: Top 10 Best Open World Zombie Games To Play In 2023


Comments