Building a farm is the easiest way to get resources in Minecraft. For new players, this might be the most tricky part as they need to know how the various mechanics in Minecraft fits together.
In this article, Gurugamer is going to showcase the 5 best farms to build for beginners in Minecraft 1.19.
1. Mineshaft Spawner XP farm
Players can find a Cave Spider Spawner inside a Mineshaft. This is considered an easy farm to build, as finding a Cave Spider Spawner is somewhat easy. A Mineshaft is also already closed off so you don't need to build too much around it.
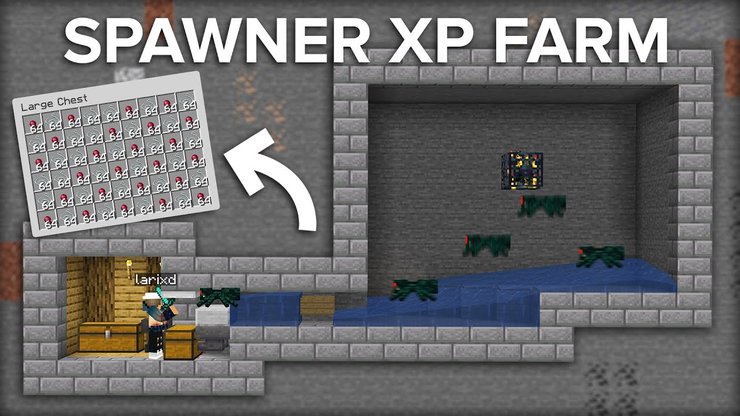
Just put the spawner inside a room and place flowing water to push the spiders into a nook where you can easily kill them.
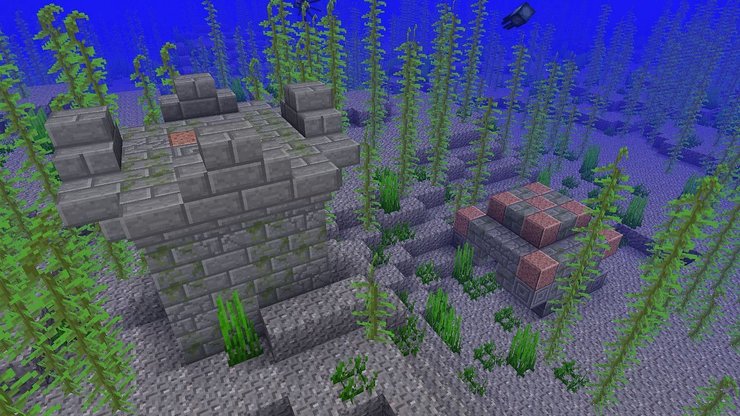
2. Kelp XP farm
Kelp XP farms are relatively easy and cheap to make. The premise is fairly simple. Players use a furnace or smoker to convert kelp into dried kelp. They then craft the dried kelp into blocks as a fuel source to smelt more dried kelp. Kelp XP farms are very accessible, even to the beginner player, which makes them a worthwhile building project.
Below is a step-by-step guide to building a Kelp XP farm:
- Firstly, get as much kelp as possible. They can be found underwater, on the ocean floor.
- Craft two hoppers, at least two chests and a furnace or smoker block. Get some form of fuel such as wood to get the farm going.
- Place a chest or double chest then connect a hopper to its side. Place the furnace or smoker on top of the hopper, then place fuel inside it.
- Afterward, put another hopper on top of the furnace/smoker then place another chest on top of that hopper.
- Place the regular kelp you gathered into the topmost chest. It will smelt through the furnace block to be deposited into the bottom as dried kelp.
- Use the dried kelp to craft dried kelp blocks, which can be used as fuel for the smoker/furnace. As long as standard kelp is fed into the top chest, players will be able to get plenty of experience.
3. Fletcher villager Emerald Farm
One of the best trades for Emerald is selling sticks to fletchers. The reason for this is that sticks are incredibly easy to get from trees. Players can just gather a number of wood blocks to create as many sticks as possible for trading.
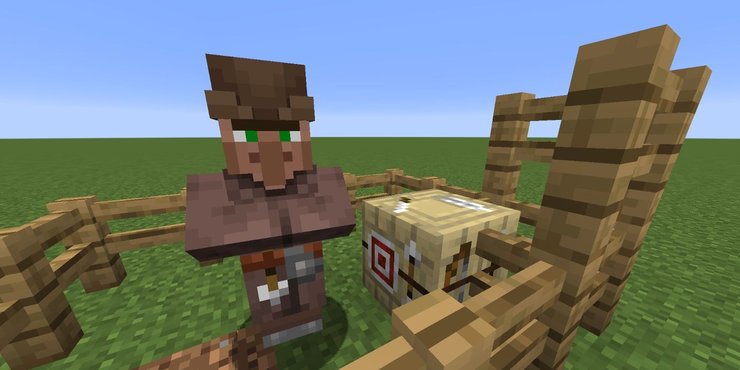
Using a piston system, players can keep removing the worksite block of a fletcher so that it refreshes its "stick to emerald" trade. This way, players can quickly convert stick to emerald en-masse. This build can also be applied to villagers of other professions, however, nothing beat sticks in efficiency.
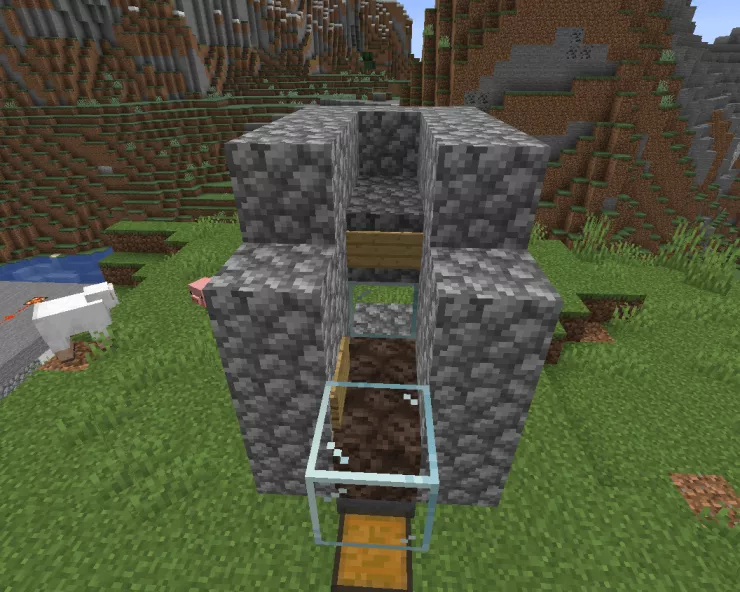
4. Steak and leather farm
Steak and leather farm is probably the best food farm in Minecraft. This is a multipurpose farm that provides the player with an inexhaustible source of cooked steak and leather. The overall design of this farm is fairly simple - you only need a bucket of lava, a bucket of water, some building blocks like cobblestone, a few signs, a couple of hoppers, some soul sand, some glass, and a chest. You also need some wheat to feed and lure the cows as well.

Building the foundation
Firstly, place your chest and run two hoppers into its back, one behind the other. Place a soul sand block on each hopper and surround them with your building blocks. When the farm is active, the cooked steak and leather will drop into the hoppers through the sand.
The second step is placing glass blocks on the front and back of the farm and a layer of building blocks on the sides. On one of the building blocks closest to the front, place a sign to stop the lava flow. Run another layer of building blocks around and place another glass block at the front. This is where the lava will be placed later. Build a platform on this layer for adult cows to stand on then place a sign on the building block across from the third glass block to prevent lava from flowing.

The third step is to build up the walls around the platform then place a water source block on this layer. Remember to block it off to prevent the water from getting into the lava. Add the lava and water then close the rest of the farm.
The final step is to lure some cows to the platform on top of the farm and leave some wheat there for them to breed. The newly created baby cow will float down below and cooked by the lava, giving you steak and leather. The more cows you have on the upper platform, the more meat and leather you can gather. You can also install a piston to push any cows that get stuck into the lava.
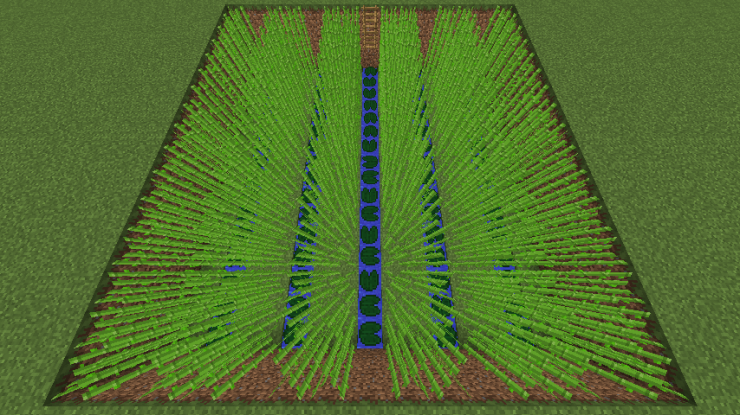
5. Sugarcane farm
Sugar cane is a valuable plant for crafting rockets, making books for bookshelves, maps, and trading paper. However, farming sugarcane is actually pretty tricky, as they can only be planted on grass, dirt, podzol, and sand blocks. Furthermore, the block must be directly adjacent to water and not merely above or diagonal as with crops.
An automated sugarcane farm can be easily created using basic Redstone engineering. You only need a bunch of Redstone, a piston, and either a button, an observer, or a lever.

Plant the sugarcane next to a block of water. Place piston on the level above the sugarcane to break it as soon as it grows. Place blocks behind the pistons and observers above them facing the sugarcane. Create a Redstone wire across the top of the blocks behind the pistons.

The sugarcane pieces will be knocked into the water below. Create a stream of flowing water and have it feed into a hopper and chest to automatically gather all resources.
>>> Read more: How To Customize Armors In Minecraft 1.20


Comments