A great aspect of Minecraft Legends combat is the diverse selection of Golems that can fight alongside you. These pixelated creatures can be summoned during gameplay and there are several types, each with their own unique advantages and disadvantages. It is essential to understand how to utilize them efficiently during battles. A comprehensive guide is provided here, which includes instructions on unlocking all the Golems in Minecraft Legends and tips on their effective usage in combat.
While the focus of this article is on PVE gameplay, it should be noted that all the Golems mentioned can also be used in PVP matches.
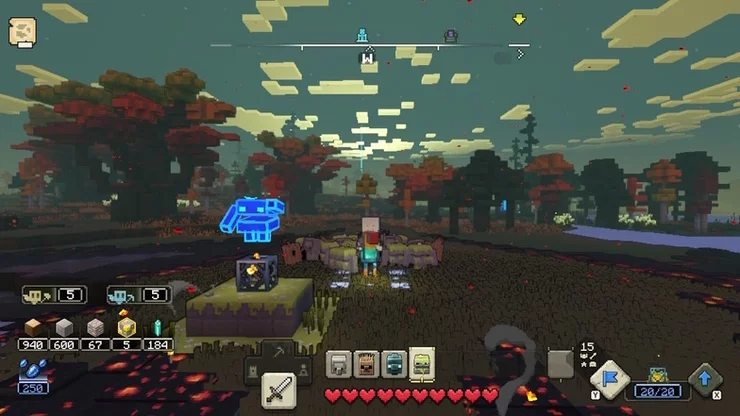
1. How to Summon Regular Golems
The initial four Golems discussed in this list are standard Golems that become available as you advance through the campaign. To summon them, you must construct a spawner for each Golem variant. It is necessary to strategize the number of Golems of each type to summon, as there is a limit to how many can be summoned.
If your Golems are defeated during battle, you can quickly retrieve them by using the spawners.
Cobblestone Golem
Cost 1 Wood, 1 Lapis, and 1 Flame of Creation
Cobblestone Golems are among the initial types of Golems that become available in the game and can be unlocked during the tutorial level. These Golems are both durable and cost-effective, and their primary abilities involve demolishing structures, enduring attacks, and pushing back adversaries. They function particularly well when paired with Plank and Mossy Golems.
It is recommended to bring 5 or 6 Cobblestone Golems with you during battles initially, as they can effectively eliminate large groups of enemies and take down structures. As you expand your army, it is suggested to allocate approximately one-quarter of your troop allowance to Cobblestone Golems as they are an excellent foundational unit and can be utilized in various scenarios.
Grindstone Golem
Cost 1 Iron, 1 Lapis, and 1 Flame of Creation

Grindstone Golems become available relatively early in the game's storyline. Once you acquire the Gather Iron ability, you can construct Grindstone Golem spawners and deploy them in combat.
The most notable feature of Grindstone Golems is their stunning ability. This potent blast can disable and immobilize adversaries for a significant duration, offering an excellent opportunity to gain an advantage in combat and eliminate troublesome ranged mobs.
It is advisable to include 4 or 5 Grindstone Golems in your army initially and then expand this number as you acquire the ability to have more troops.
Mossy Golem
Cost 1 Iron, 1 Lapis, and 1 Flame of Creation
Mossy Golems are exceptional healers and are a valuable asset to have on your team. You can construct Mossy Golem spawners after unlocking the Gather Iron ability, just like with the Grindstone Golems.

Even though it would be tempting to ignore these golems because they are weak and do not deal damage, it is essential to have at least one or two of them in your army. By keeping your mobs healthy, they can save a large amount of time and money.
Plank Golem
Cost 1 Wood, 1 Lapis, and 1 Flame of Creation
At the beginning of the game, along with the Cobblestone Golems, you also receive Plank Golems.

Despite being little, these golems are incredibly mobile and excellent at dealing close-range damage. They are not the most durable creatures, though, and their inability to do melee damage renders them vulnerable in battle if they are misplaced.
To take full advantage of their abilities, I recommend bringing a significant number of these Golems with you into combat. Position them behind your front-line mobs and move them as a unit. One Plank Golem may not be very effective, but a group of them can be a force to be reckoned with.
2. How to Summon the First Golems
Compared to the regular Golems discussed earlier, acquiring and incorporating the First Golems in your army requires more effort. These steps are applicable for the campaign mode, but they can also be spawned in PVP matches.
To begin, you must first locate the Firsts in the overworld. A fast mount such as the Regal Tiger is recommended for this task. Although the exact locations of the Firsts are random, they are generally found in specific biomes. Once you've located a dormant First, you'll acquire the ability to craft the "Wake the Firsts" upgrade.
To create the upgrade, you'll need to return to the Well of Fate and spend 100 Stone and 100 Prismarine. After you've crafted the upgrade, you'll need to locate the Firsts again in the overworld. Summoning them will cost you another key resource and 100 Gold.
Once you've paid the fee, you'll be able to command your First Golems in battle. They do not occupy any army slots, and if you lose sight of them, you can easily find them at a nearby safe Village or beacon.
The First of Brick
- Found in the Badlands biome
- Cost 100 Gold and 125 Iron
When it comes to supportive gameplay, the First of Brick is the most suitable First Golem. It may not be the most powerful or aggressive, but it has the ability to protect your troops.
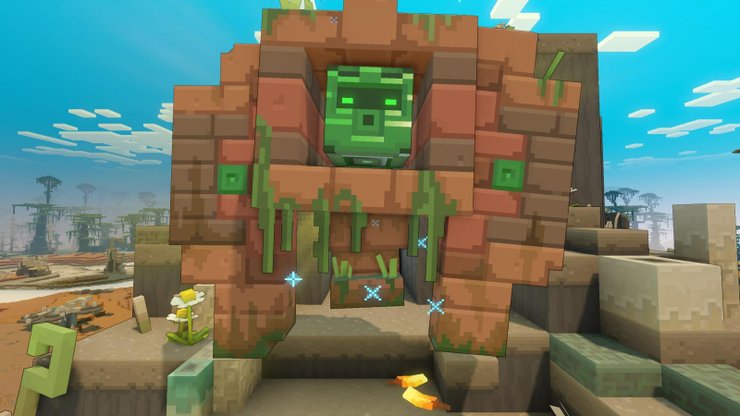
It is recommended to place the First of Brick near the front of your army when attacking a Piglin base. While the shield is not permanent, it can withstand the initial attacks and give you enough time to plan your strategy.
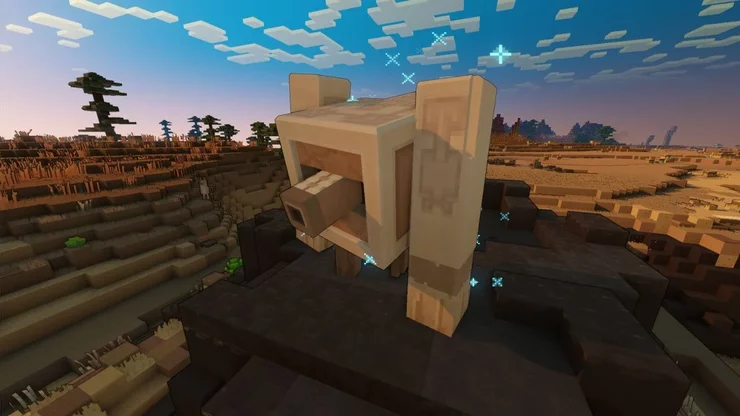
The First of Diorite
- Found in The Jagged Peaks biome
- Cost 100 Gold and 125 Coal

The First of Diorite is an exceptional Golem in the game with a distinct ability. It doesn't have a particular attack, but instead, it generates other random Golems to fight along with it in combat. This could be very beneficial in challenging battles where you're losing mobs quickly, and you're not able to reach your spawners.
To prevent losing it quickly, it's recommended to position the First of Diorite behind your other mobs or on the fringes of the battle. This is because it's not the most robust of Golems.
The First of Oak
- Found in The Badlands biome
- Cost 100 Gold and 500 Wood
The First of Oak is an upgraded variant of the Plank Golems that possesses an exceptionally potent ranged attack. It is the perfect pick to battle with other ranged creatures like Skeletons because of its cannon's ability to deal massive damage to adversaries.
However, it is susceptible to assaults and is quickly defeated if positioned recklessly, just like other ranged mobs. It's advisable to keep it at the rear of the squad and let the melee mobs handle the brunt of the damage.
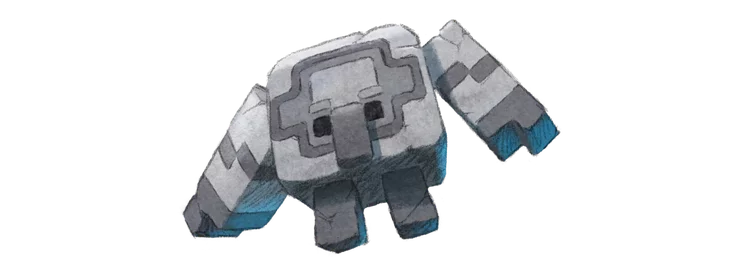
The First of Stone
- Found in The Meadow biome
- Cost 100 Gold and 500 Stone
The First of Stone is perhaps the most powerful of all the First Golems in terms of its brute force. This Golem can hurl huge rocks at its enemies, causing significant damage. Additionally, it can be useful when attacking bases, much like the Cobblestone Golems.
Given its ability to withstand attacks, the First of Stone can be placed at the forefront of your army, where it can handle opponents with ease. Compared to the other First Golems, it is a fairly sturdy mob.
>>> Read more: 8 Best Minecraft Enchantments For Helmet In 1.20


Comments