Ease of control is pretty important in Free Fire, as it is a battle royale shooter on mobile that requires a lot of precision. Similar to any of its rivals, Free Fire features a fully customizable layout so that players can adjust based on their preferences. In this article, we would list out the best way to create a custom HUD in Free Fire.
1 - About the Custom HUD feature in Free Fire
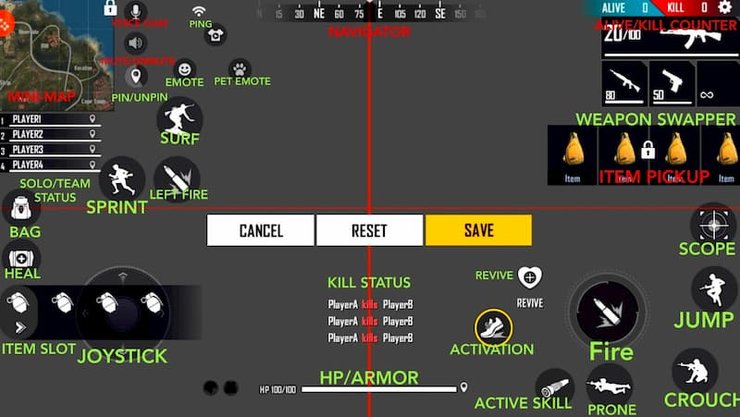
It is a layout on which multiple buttons that would appear in-game are displayed. You can rearrange some of them in any place on the screen. These icons cannot be deleted and there are some that cannot be moved at all. You can sync the custom HUD to the cloud to use in other devices by the "others" setting.
Read more:
2 - How to Adjust the HUD in Free Fire
The unmovable buttons are Mini-map, Item pickup button, Alive and kill counter button, Voice chat button, Mute button, and Navigator. The rests are movable.
You can set the HUD to whatever places you want, but there are a few principles you need to remember:
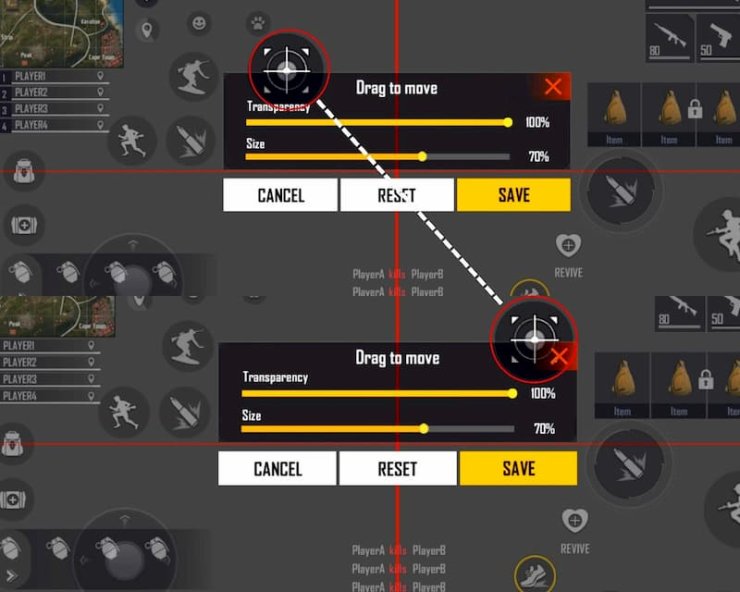
- The scope button should always be located at the most convenient place as you would need to reach it the fastest. Therefore the top left of right side are the best choices.
- The weapon changing buttons should be big to avoid accidental presses.
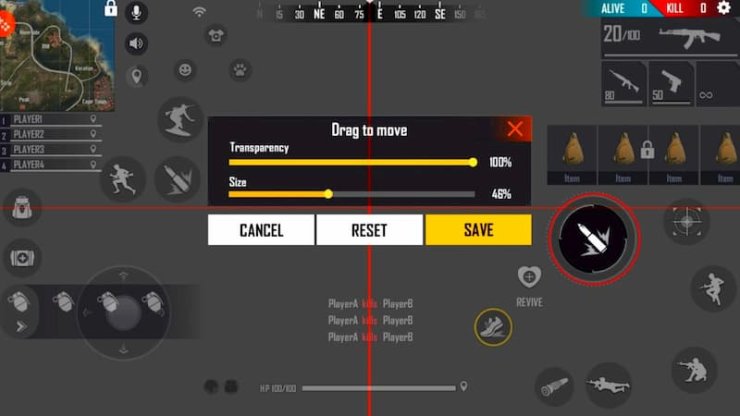
- The Fire button should be big so that you can perform drag easier. Place it above the horizontal red line.
- The prone, jump and crouch can be placed right next to each other so that they can be pressed more easily. It is best to go Crouch - > Prone - > Jump (From left to right).
- The joystick size does not matter much.
- The sprint button should be on the left side.
- You can keep all other buttons at the same place.
Interested in more of our articles related to Garena Free Fire? Please check out this post to find out more about the top 10 best skins in the game.


Comments