Hologram 6 is the hardest content in Wuthering Waves to date. The mode is permanent - it puts players against a buffed version of a world or story boss. As these bosses have a lot of one shot attacks, a lot of players struggle in dealing with them.
In this article, Gurugamer is going to showcase the easiest way to beat all Holo bosses, even if you are bad at the game.
1. Preparation
Character builds
A good, well built DPS with at least 60% CR and 250% CDMG. You need to be able to kill the boss fast enough before time run out. This is an end game mode so a well built character is required.

A healer such as Verina or Shorekeeper. If you can solo with Danjin you would not have to read this article.
The third slot is a flex slot. You can use whoever you think you want or need. I sometime use a sub DPS but most of the time i just use another sustain.
Supply items
Food buffs, inhaler and supply buffs are vital. You need to craft the crabs to get + Crit Rate so that your characters can deal damage more consistently. The HP food also allow your characters to tank oneshot attacks.

Inhalers revive your characters when you fail to dodge.
2. Which are the best characters?
In my experience, you would want to use a character with some range in their attacks. Bosses move around a lot and sometimes they might be out of your range, which lead to DPS loss.
Another thing is that staying at range would give you a bigger dodging window. Reacting in melee range is harder, obviously.
You can beat hologram 6 with all characters in the game, of course, but the below characters are just the most straightforward. Brant made the 1.0 hologram bosses look like babies, however, he is very hard to build.
Carlotta
The first Pistol DPS in the game, Carlotta, is pretty much the best at dealing with hologram bosses. Her skill STUNs the boss, give you a little bit of time to breathe, heal or reposition. After stunning, you also have the option to jump on top of the boss, closing the distance and potentially dodging an attack. Her range prevents you from losing DPS when the boss zip around.

Carlotta also has TWO cutscenes for her ultimate, which allow you to dodge bosses attacks if timed well.
Jinhsi
Similar to Carlotta, Jinhsi has a bit of range and movement in her kit, which allows player to have an easier time chasing the boss around. She also has two "cutscenes", allowing players to dodge attacks.
Her nukes synergize fairly well with coord attackers such as Zhezhi, Verina or Mortefi. Jinhsi, Zhezhi and Shorekeeper are called "the clutch team" in China because the joke is that even a disabled player could beat holo with the team.
Shorekeeper
Heal, CR buffs, and most importantly, our face tanker. A properly built Shorekeeper has like 40k HP so you can switch to her to tank the one shot attacks.
Xiangli Yao
Yao can work as either main or sub DPS - he has decent damage and a slow effect on his enhanced skill, which allows players to have an easier time dodging bosses attacks.
Aalto
The Huanglong Holograms have bad AI and can be cheesed by Alto's clone skill fairly easily. If you are super bad at the game in general, just build up an Aalto and cheese it. Summon the clone and fire away. The rest of the holos are harder.
Taoqi/Yuanwu
If you are tired of getting one-shotted, running double sustain is still good if your DPS has enough damage. Both of them are great with Jinhsi.
Verina
If you don't have Shorekeeper.
3. Tips and Tricks to beat each Hologram 6 boss in Wuthering Waves
Here are the general tricks to beat each bosses, regardless of the characters you are using. Avoid using the same element as the boss as they usually have higher res to that.
Prioritize perfect dodges to trigger Dodge Counters, which deal bonus damage and reduce Vibration Strength (stun meter).
Mourning Aix
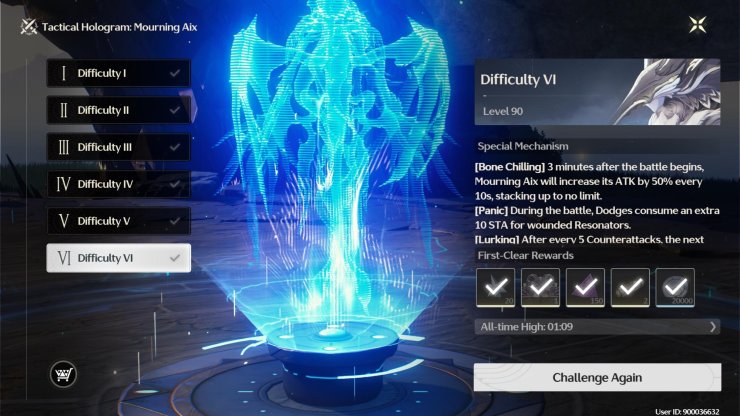
The easiest Hologram in the game because his HP pool is TINY. He has only three dangerous attacks - the grab, the laser and the feather shots. The first two are fairly telegraphed and easy to dodge, but the last one, feather shot, is a bit trickier as it is harder to notice. As long as you see it fires the feathers, switch to your healer, count to 2, then spam the dodge button.
Impermanence Heron
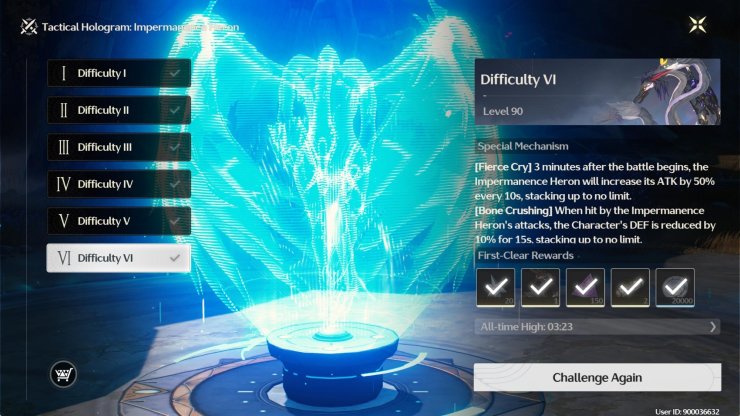
This bird is also very easy as its patterns are simple, giving players a lot of time to dodge. only the slam attack when it flies then dive down is dangerous.
Crownless
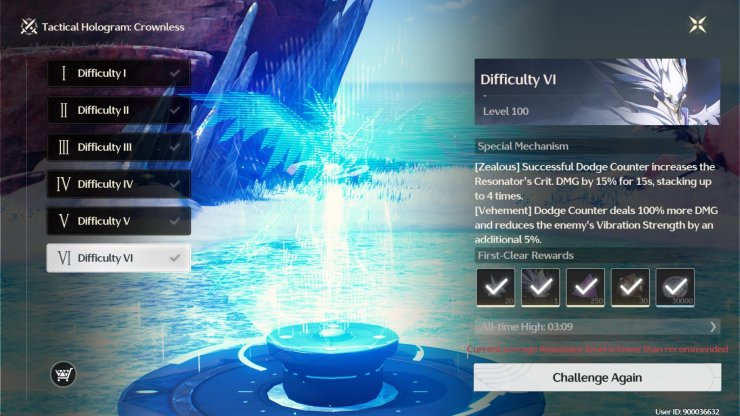
Bare-handed combos, martial arts, sonic punches, spear, stylish, fun to fight. Initially hard, repetitive combos, infinite combos if rushed, challenging with melee.
However, anything with range such as Carlotta or Aalto eat this guy for breakfast.
Feilian Beringal
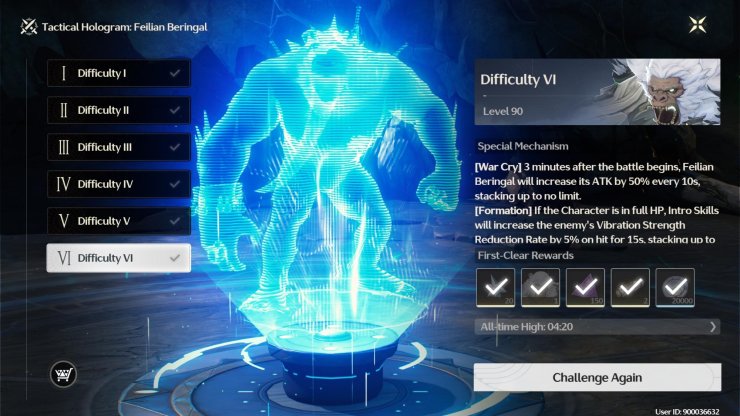
Its attacks are slow and telegraphed, however, they last really long so overall the monkey is a greed test. The dangerous log-spin is a noob killer (10s, one-shot), counter with dodge spam and counterattacks.
It also summons more monkeys - the best solution is to end the fight as fast as possible.
Lorelei
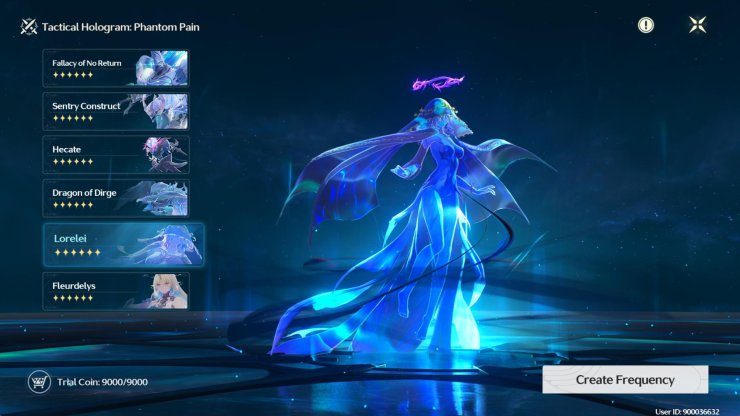
Lorelei is a greed check. If you let her finish, you'll have plenty of opportunities to lay her down. If you try to get in-between her attack strings she will wring you out like dirty laundry. Her attacks chain, if you get hit by one, you get stunned and become vulnerable to her other attacks, which also stuns. Once I got used to it she was pretty easy
Tempest Mephis
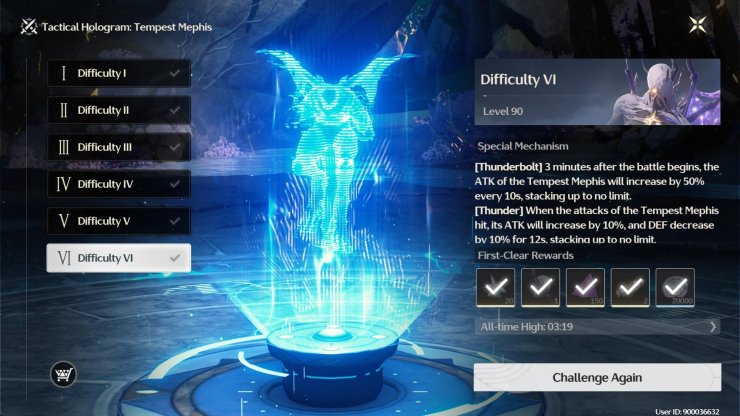
Ah yes, Wuthering Waves' Pontiff Sulyvahn. Considered the second hardest hologram in Huanglong, it can summon a clone to chase players relentlessly. with a lot of one shot attacks.
To deal with Mephis, you can either learn how to parry his attacks up close, or dodge. Overall, the boss has only two dangerous attack, the laser and the "Judgment cut" where it stands and wave its hand. Learn to dodge both of those moves from both the boss and the clone and you'd be able to beat it.
Inferno Rider
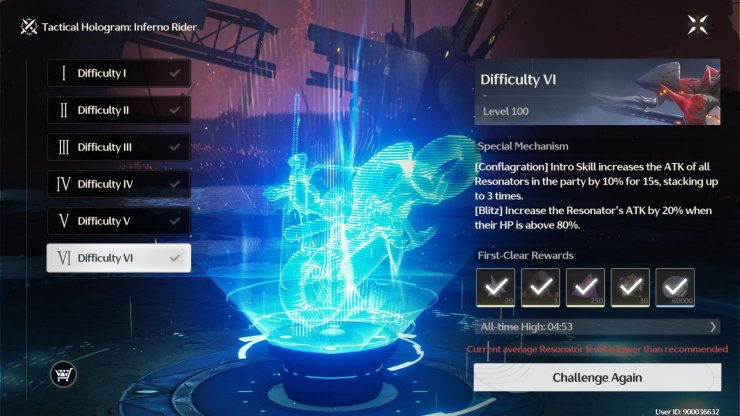
The first phase of IR is fairly easy - the boss just can't kill you. However, the annoying part is that it has a second phase with a second health bar, on top of an already big HP pool. You need a decently built character to have enough damage.
He spams meteors in the second phase (the floor is lava), however, if you can fly or stay at range it becomes fairly simple.
Dragon of Dirge
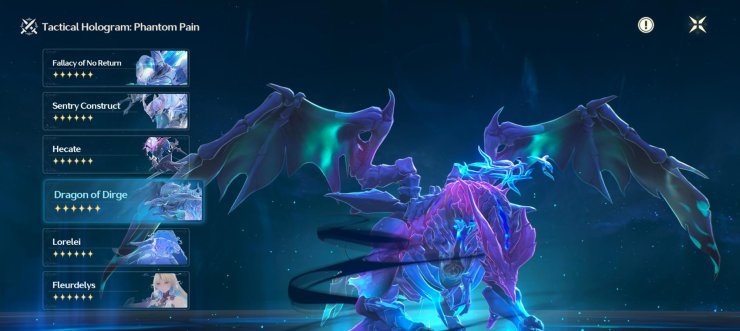
The 2.0 holograms are pretty close in difficulty. The Dragon of Dirge has countless AOEs which are fairly telegraphed and easy to dodge, however, the issue here is that there are so many of them that you might get greedy and die. There's also that constant fire breath at melee as well.
However, as usual, anything with range or flying eat this dragon for breakfast.
The Fallacy of No Return
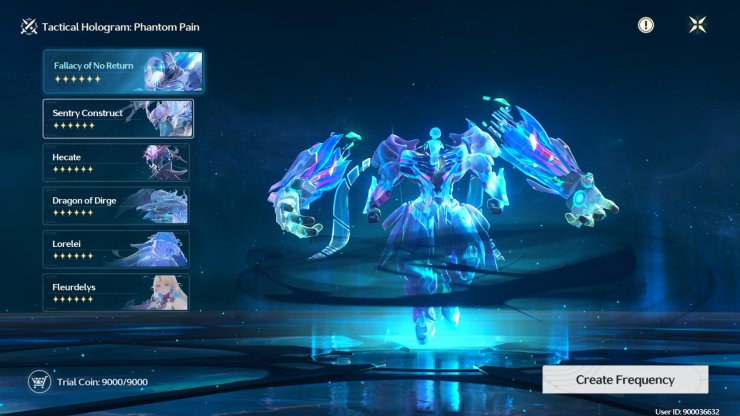
Has two forms: a grounded hammer-wielding form and an aerial form with large summoned arms.
In phase 1, when glowing red (overclock state), Fallacy becomes highly resistant to interruptions and unleashes powerful combos. Focus on dodging.
Fallacy summons two large arms and becomes airborne, making it harder to hit with melee characters. It spams rapid, high-damage AoE attacks, including lasers and slams. A flying or ranged character could deal with this fairly easily, whereas melee ones need to wait for him to land.
Sentry Construct
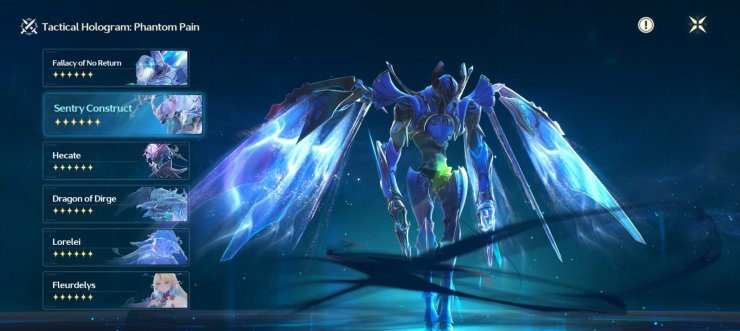
This boss has two phases, ground and air. It is also one of the rarer hologram that staying close would be better than keep distance. Its melee attacks are easy to dodge - players should prepare their grapple to go behind the boss when it puts the shield up.
When the boss flies, dodge the red AoE circle to avoid a potential one-shot. It might also use a dangerous ice beam that need to be repeatedly dodge. After losing a chunk of HP, the boss performs two consecutive dashes. Prioritize dodging over attacking during these.
Phase 1 is easy, most players have problem with phase 2 when the boss fly up. Either time the stun meter or use characters who can hit it in the air. Otherwise, you would have to wait for the boss to come to you.
Hecate
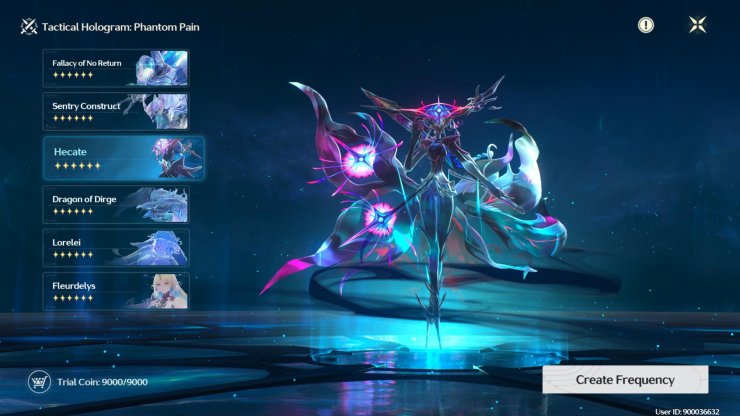
Hecate’s Vibration Strength is easier to deplete than other holograms, especially with parries in Phase 2. Prioritize parrying over dodging when possible to create stun windows.
Parrying whips is key to staggering Hecate quickly. Practice timing on lower difficulties (e.g., Difficulty IV or V) to master the rhythm. A successful parry chain can stun her before her Liberation, preventing her deadliest combos.
Hecate spends time airborne in Phase 2. Use Carlotta, Jinhsi, or Brant to hit her consistently. The 5-minute timer is strict, and the HP drain mechanic after 3 minutes makes quick clears essential.
Fleurdelys
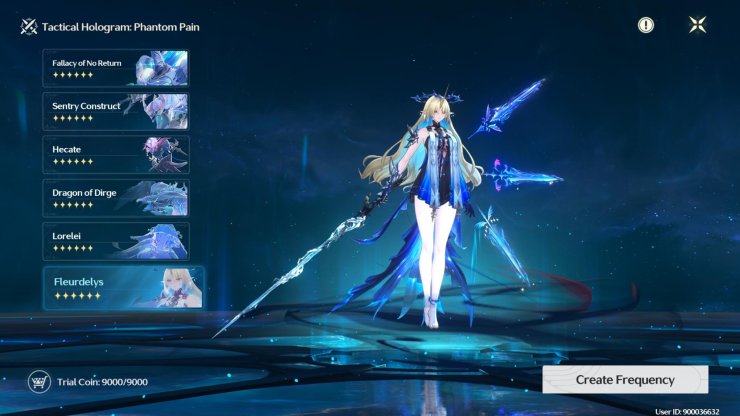
The hardest boss in the game so far. Fleurdelys in Difficulty VI is a single-phase boss with a long, complex attack list, fakeouts, and constant teleportation.
Most of Fleurdelys’s attacks cannot be parried, so prioritize dodging. Her long attack strings and fakeouts punish dodge spam, so time your dodges carefully (e.g., wait for the second or third hit in a combo). Each attack string typically requires 1-2 well-timed dodges.
After her combos (e.g., weapon drop, projectile wave), Fleurdelys has a 1-2 second recovery animation. Use this to land heavy attacks.

When she teleports, watch your back and prepare to dodge immediately.
Use intro skills and heavy attacks to deplete her Vibration Strength (stun meter). Stunning her opens a 5-7 second window for full DPS rotations. Phoebe’s stun-lock is particularly effective for locking her down.
For unavoidable combos or her fastest attacks (e.g., teleport + claw rush), use ultimates (e.g., Verina, Yinlin) to iframe damage and maintain DPS.


Comments