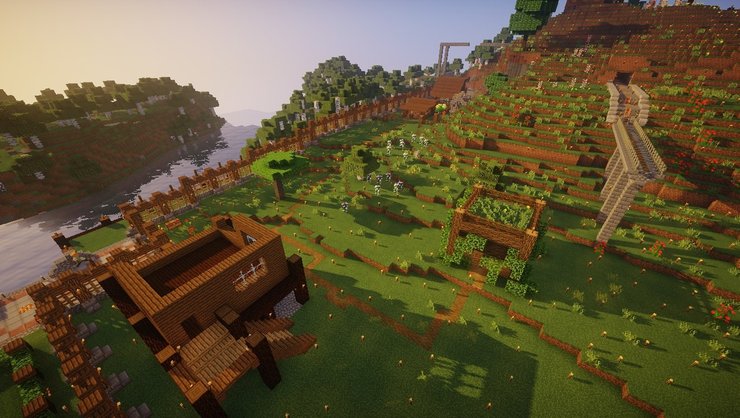
Villages are one of the best generated structures in Minecraft. It is filled with villagers and resources, which open up a lot of options for players. They can either round up all the villagers to create a trading farm or let them work on your food fields. The chests in the villagers' houses are full of valuable loot as well.
However, it is actually not easy to find a village. In this article, Gurugamer is going to showcase the top 5 tips and tricks to find villages in Minecraft 1.18.2.
1. Look in the right biome
Villages generate naturally in plains, savanna, taiga, snowy tundra, and desert biomes. Furthermore, in Bedrock Edition, they also generate in snowy taiga, sunflower plains, taiga hills, and snowy taiga hills biomes.
It is best that players learn how to identify the correct biomes from afar to get a higher chance to discover a village. As biomes with similar temperatures are placed next to each other more often, players should use the mechanics to locate their needed biome. For example, if the player discovers snow, it is a good idea to roam around to find taiga or snowy tundra, which can lead to villages.
2. Use the Locate command
If players have enabled cheats in their world, it is possible to just find the biome using the Locate command. This method can also be applied to pretty much any biome and structure in the game.
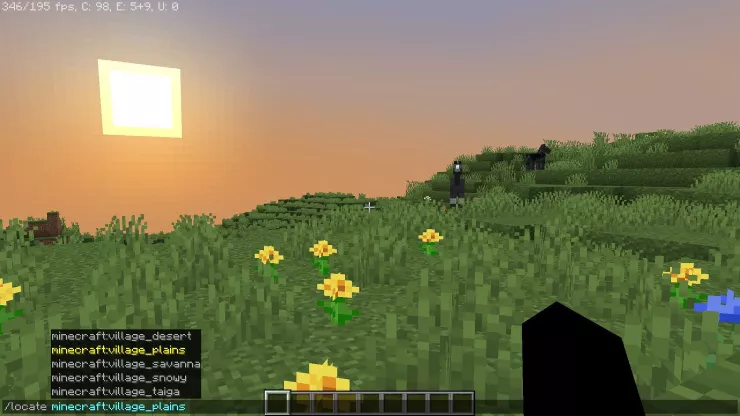
Just open up the in-game console using "/" and type in the command /locate [structure name]. The command can find different types of villages as well. Typing in "/locate village" would display every type of village in the game (denoted by their biome type).
By picking between the options, players will get the coordinate of the nearest village, which they can compare with their current coordinates to get directions. However, they can just click on the coordinate itself to teleport to the location.
3. Search near water sources
Water is an important resource in Minecraft. While the player character and NPCs do not need to drink water to live, they have a lot of utilities such as water buckets and fish farms.
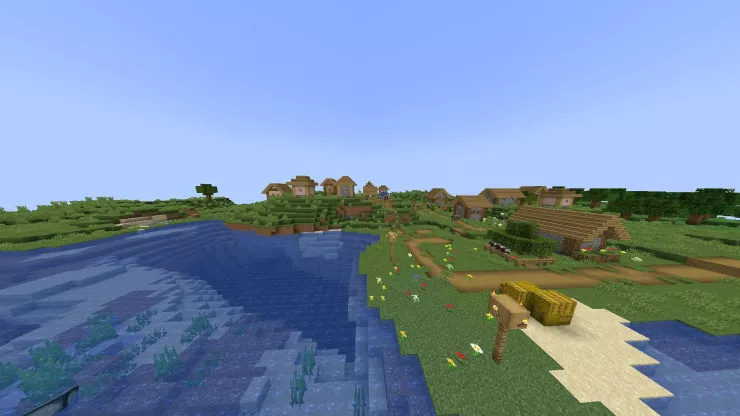
Villages have a higher chance to spawn near a water source. This allows villagers to grow different types of crops that need water such as sugarcane and melons. Because of that, players can just walk alongside the bank of the nearest river and sooner or later they would find a village.
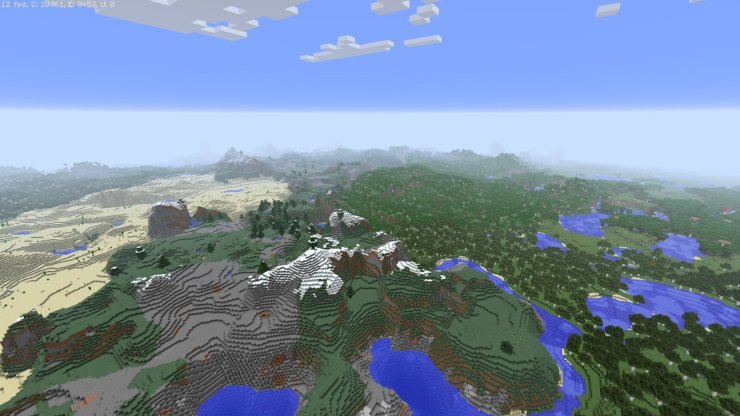
4. Avoid mountains, jungles, and thick forests
Villages are big structures and need a lot of space to grow. Because of that, they don't really spawn in thick biomes like mountains, jungles and thick forests. These areas are also dark and have the potential to spawn monsters, which the villagers cannot deal with.
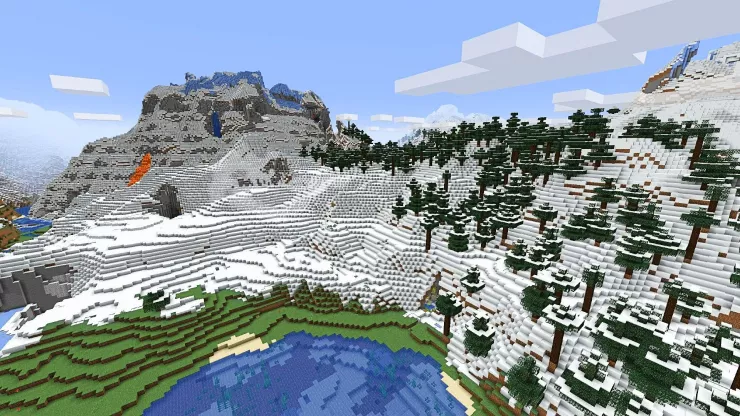
If you see these kinds of biomes while trying to find a village, just ignore them to save time.
5. Crank up the render distance
Players can just try the classic way to locate anything in real life - get to a high location to look around. If there are no mountains or hills around, players can just build a simple tower and climb on top.
However, for this to be effective, players also need to crank up the render distance in the options. With this, faraway places would be revealed, allowing them to easily discover a village. However, it is best to turn this off afterward, as high render distance cause dips in performance.
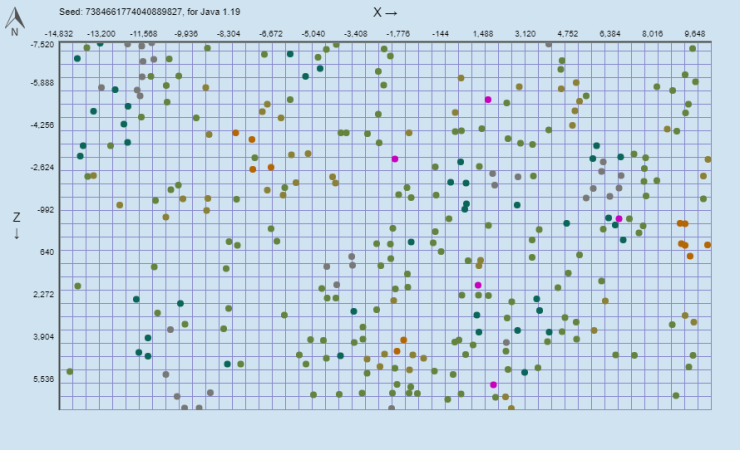
6. Use Chunk base Village Finder
Chunkbase village finder is a 3rd party tool that allows players to locate all the villages in their Minecraft world.
Seed Selection
The first thing you should do is select a seed and version. You can either type it in manually, or you can load it from your save game. The latter can be done by clicking on "Load from Save..." and selecting your level.dat, or by drag&dropping the level.dat file into your browser window. Level.dat is a small file located in the folder of every Minecraft save game. You can find the savegames in the saves folder of your Minecraft installation. On Windows, you can use %appdata%\.minecraft\saves to get to that folder.
Levels allow you to store and reuse seeds on this website, without having to load your save game every time. When loading a seed from a level, the seed will automatically be stored as a level.
You should also know that a seed is always a number (up to around 20 digits). If you type in anything else (like letters), it will be converted to a number. The app does this the same way Minecraft does, so it's safe to use letters (and other characters) as well.
Navigation
Once you entered your seed and version you can start using the map. To scroll, use your arrow keys while your mouse cursor points at the map, or move your mouse while holding down the left mouse button. You can use the slider below the map or your mouse wheel for zooming. The lower inputs allow you to go to a specific point (e.g., your base) of the map and set a marker there. You can always remove and add the marker by double-clicking on the map. The "Save Map" button allows you to save the currently shown map as a png image file.
>>> Read more: Top 10 Best Minecraft Mods For New Features In 2022


Comments