There are 2 ways to get a Booyah in Free Fire - you either land on the edge of the zones and scrape by to survive until the end... or land on the hardest zones, beat everyone and sit on it until the final circles. Anyone can do the first... but the second requires a lot more skills and luck.
In this article, we would list out the top 5 most dangerous locations one could find in Free Fire Bermuda
Table of Contents
Pochinok
Pochinok lies on the south side of the map and consists of many small compounds and buildings. Each building is a separate spawn spot – the amount of gear you could find here is pretty much unreal. You can probably gear your whole squad here. Don’t expect to find any high-tier loot here, however, as the whole area are pretty much low-grade spawn points. The relatively smaller distance between buildings ensures a fast looting experience.
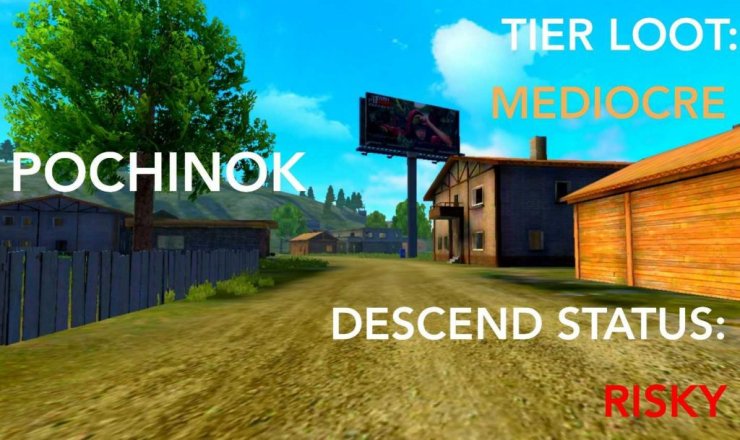
Pochinok is a highly contested location - you must prepare to fight immediately if you choose this as your landing spot.
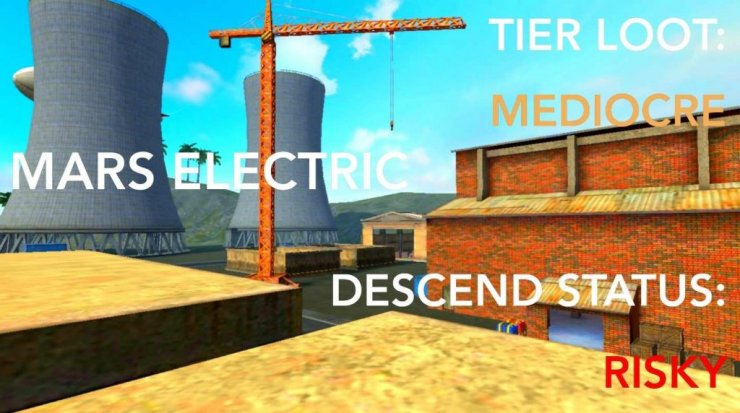
Mars Electric
Despite lying on the edge of the map, the sheer quality of the loot that can be found on Mars Electric made it a red zone/hot location. Top-tier loots like sniper rifles could easily be found here – multiple of them, in fact, as the place is gigantic. It might take some time for you to clear out the area, however, as the gears are scattered all over the place. At least rotation from the site is pretty easy, as there are various vehicles spawned in the vicinity.
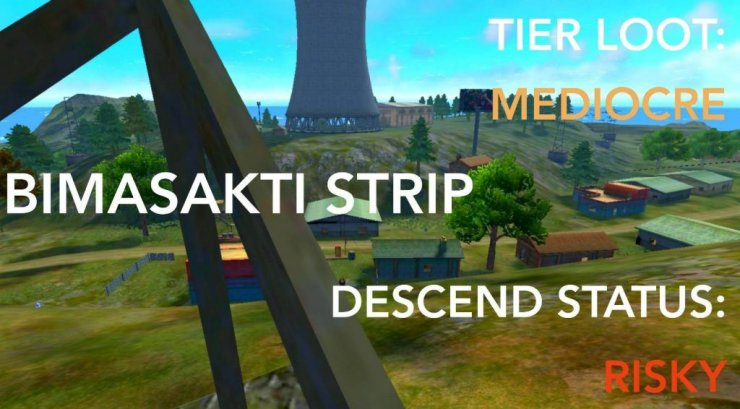
Bimasakti Strip
This is pretty much the biggest warzone on the map. You are going to witness a brutal deathmatch every time you land on this location – sometimes you can die even before reaching the ground. However, with high risks come high rewards – if you managed to survive the first way and camp somewhere in this location, you would be able to stick around until the end of the game, as the final circle is often in this location.
Read more:
Factory
This location is probably one of the hardest spots to land on, as a lot of people would like to clear out the loot in this location. The main advantages of this zone are its large quantity of weapon spawns, its small size, and its general location on the big map.
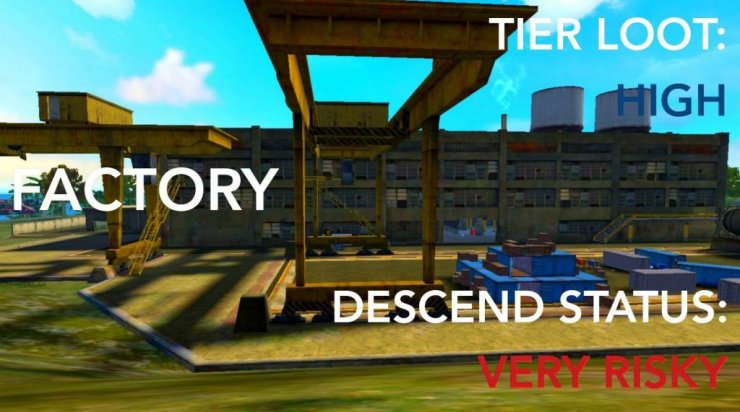
It is advisable to look out for prying enemies, loot, and exit the area the moment anything good is found.
Mill
Mill is the opposite of Factory – while the latter is a purely close-quarter combat location, the former is mainly focused on ranged combat. If you are good at sniping, this would be one of the best places to land, with sniper rifles up for grab right from the start. It is also very open and on higher ground, the perfect combination to create a sniper nest.
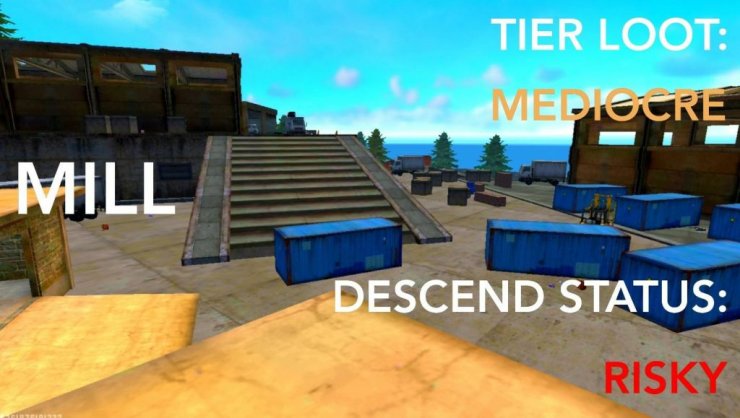
The weakness of this place is its relatively low amount of loot. If you are not the first one there, it is likely that someone would have already cleared it out. The sheds are the location with the most spawns.
Interested in more of our articles about Garena Free Fire? Please check out this post for Top 5 Tips And Tricks To Use Jota Character Ability In Free Fire.


Comments