These days, you may have heard about gaming on YouTube and Twitch as the most popular streaming platforms for professional gamers, but what about Facebook? Facebook Gaming is now aiming to surpass Twitch and reach No.1 spot when it comes to streaming services. Due to a collaboration with Microsoft’s Mixer and its massive number of active users, Facebook Gaming has been equipped with a slew of improvements, making it now much easier to rise to the top.
If you are a beginner, you won’t have to worry at all as we have created this tutorial with qualified information and detailed guidelines, which will help you from the easiest to the most complex steps. Let’s begin with creating a gaming page.
Steps To Livestream On Facebook Gaming
A gaming page
First, start out by clicking on “Create a Gaming Video Creator Page” then type a name. Remember not to touch the “Category” option as it decides how and what kind of audiences will approach your page. Once you’re done choosing a name, click “Continue”.
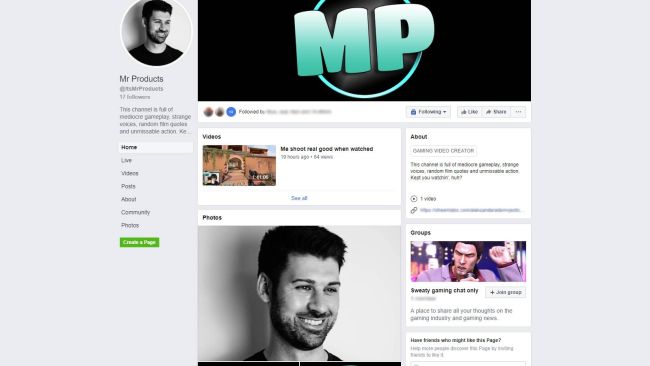
Now you can adjust its settings just like every other normal Facebook page, from uploading a profile picture to adding a description and whatever details you think will attract more viewers.
A broadcasting software
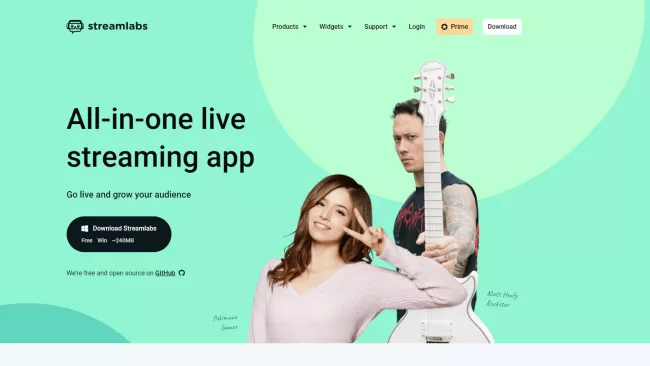
The next important step to be able to live stream your game is to choose one out of these free streaming programs to download. Our suggestions will be Streamlabs OBS, Xsplit, and OBS Studio, but you can freely make your choice as they all work the same.
In this part, we will take Streamlabs OBS as an example. First, head to Streamlabs’ original website, download, launch the program and it will scan through your internet speed and computer hardware in order to set up the most suitable settings for your device.
In case you want to adjust those settings by yourself, go to “Settings” on the bottom left of the screen, hit “Output” then select the suitable encoder. We suggest you choose between NVENC, NVENC New and x264.
Next, find out the most effective bitrate for your stream by checking your upload speed and minus 20% to get the most exact result. You should also consider using a 4000 Kbps bitrate which is highly recommended by Facebook.
The next action is to set up the keyframe interval. Set it to number 2 for the best experience. Then, head to the “Video” menu to set the output value up to 720p (1280 x 720) at 30 fps. Higher stream quality is available, but only when you are a member of Facebook’s Level Up creator program.
Get ready
Needless to say, you should have some accessories in advance, including a webcam, a microphone, and an overlay (optional). First, hit the plus icon in the bottom left to add a new scene, give it a name and click “Done”.

You still have to add 3 more elements to have your stream fully ready. Check out the guidelines listed below:
- The source: head to the menu “Sources” in the bottom middle and click the plus icon, then add your gameplay process recorded by Game Capture (highly recommended), Window Capture, or Display Capture.
- A webcam: Sources → Video Capture Device → choose your best webcam. Once you see yourself on the screen, make sure you are sitting at your most favorite and comfortable place.
- A microphone: again, you go back to Sources → Audio Capture Input → choose your device.
Start streaming
Now click “Live” on the top of your Facebook Gaming page you’ve just created. You then will be taken to the “Live Producer” window. Next, copy your Stream key, go to Settings, click “Stream” and paste it in the box “Stream key”.

There are 4 more things you need to add to your video to increase your stream views, including:
- A title (type from the menu on the left of the screen)
- The current game’s name
- A thumbnail image
- Polls and questions (to create interactions between you and viewers)
Once it’s all done, head back to your streaming software and click “Go Live”, it will give you a vision of your streaming screen and check up everything before actually going live. If you’re sure nothing is wrong, hit “Go Live” from the Live Producer page, and you’ll see yourself in the “Create Studio” page in a very short while.
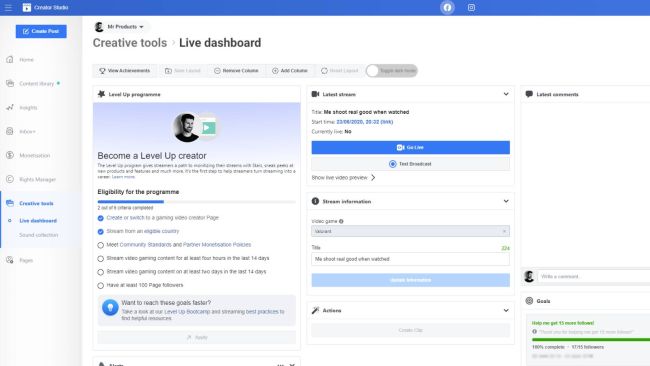
Manage everything using the Creator Studio
The Creator Studio gives you a total view of what’s going on while you’re streaming by showing you the number of viewers, stream data and comments, and giving you a detailed report after you’re done streaming. Those are part of the biggest contributors which help you improve the quality of your next streams.
So that is all of this “How to go live on Facebook Gaming” tutorial. We hope it is useful and detailed enough to get you to the best experience while streaming on Facebook Gaming.


Comments