Free Fire is a battle royale game on mobiles made by 111 Dots Studio and published by Garena in 2017. The game quickly gained massive recognition from the mobile gaming community thanks to its addictive gameplay. Compared to most other mobile games on the market, Free Fire is quite rather a complicated game that requires players to have a good hand coordinate.
Free Fire features a 3D environment where players can move freely horizontally and vertically just like in a shooter game on PC. However, it also makes it much harder to master the movement skills in Free Fire. While at the lower level, you can get away with using only 2 fingers, you will be completely annihilated when confronting high-level players.
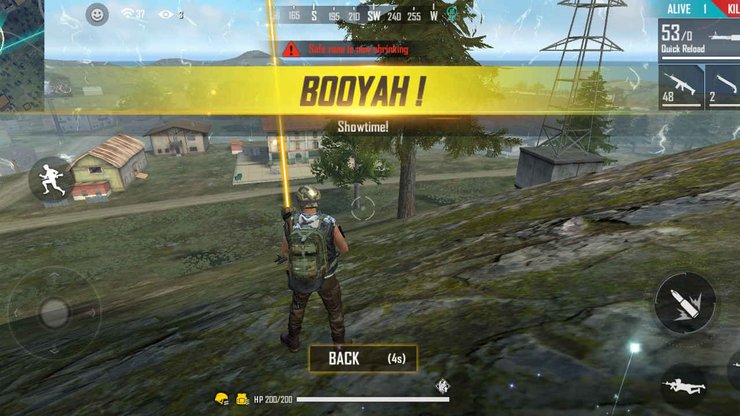
One of the secrets that will help you control your character in Free Fire like a pro is good HUD settings. You won't be able to get far using the default best custom hud in Free Fire. There are simply too many actions you need to do at the same time such as running, aiming, jumping,... and the default HUD settings of Free Fire are not optimal for that.
So, in this article. we will show you the best custom HUD settings in Free Fire so you can start stepping to the next level.
Table of Contents
What are HUD Settings in Free Fire?
In Free Fire, you can control your character using buttons on the screen. You can use the default button setup of Free Fire or you can make your own setup that you feel the most comfortable with. You can adjust the position and the size of every button so they are in the right place for your fingers.
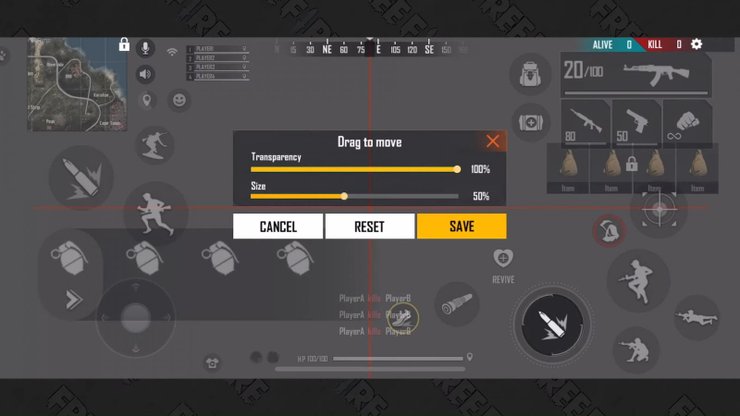
In order to make your own custom in Free Fire, go to Settings -> Controls -> CUSTOM HUD.
Best Custom HUD Settings in Free Fire
There are a lot of playing styles out there and each style has its own way to utilize all the buttons as well as its own HUD settings. For new players, this might be a little bit confusing as there are a lot of buttons so it is hard to tell which is the best place for each button.
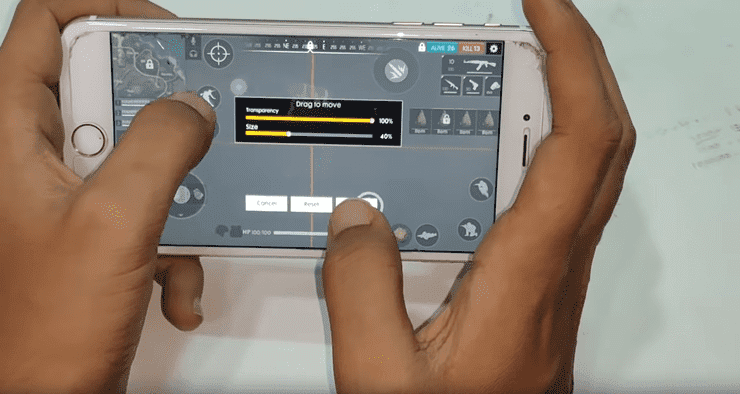
Since there is a lot of different control play styles, today, we are only going to show you the Free Fire best custom hud settings for 3 claw finger style and 4 claw finger style, the 2 most popular play styles that most Free Fire players use.
3 Finger Claw HUD Settings
In the 3 Finger Claw Setup, your left thumb controls the movement of your character with the left joystick while your left pointer controls the Fire button. You use the right thumb to control all other additional actions such as jumping, prone, crouch, aim, reload,... You can also switch the Fire button to the right and use the right pointer to control it.
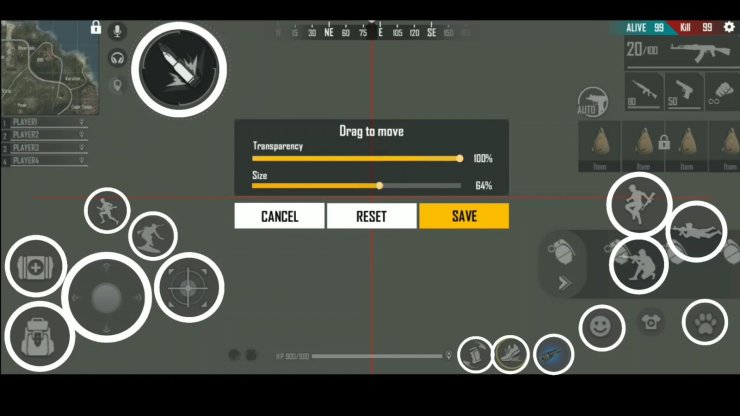
This control style is quite easy to learn while being very effective so many players love using the 3 Finger Claw Setup. If you are new to Free Fire, you can start with this style and then move on to the 4 Finger Claw style later.
Here is the best 3 finger claw Free Fire HUD Settings. But remember that you can totally make changes on your own if you think it is better because each person's phone and hands are different.
4 Finger Claw HUD Settings
The 4 Finger Claw Setup is the best play style in Free Fire and it is widely used by most pro players. This playstyle is much better than the 3 Finger Claw style once you learn how to use it. You will be able to control your character fluently as if you are playing on a computer.
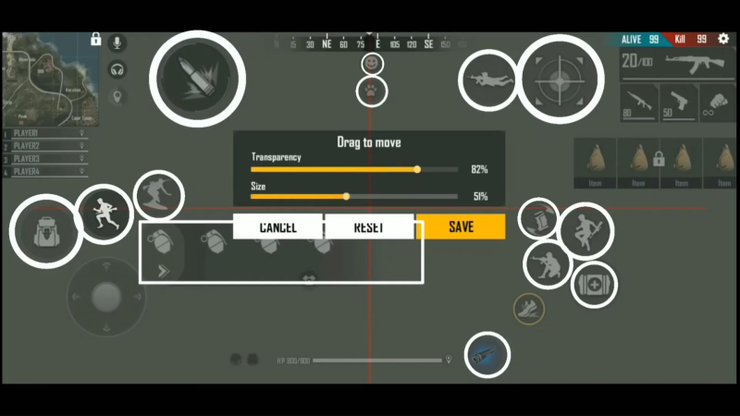
Of course, it is also harder to master the 4 Finger Claw playstyle than the 3 finger claw Free Fire playstyle and you will need a lot of practice.
With an additional finger, you can do all kinds of maneuvers such as running, jumping, and turning at the same time, making you a really hard target to kill and a really tough opponent to face.
Here is the best Free Fire four finger setting. Once again, make changes as you want if they fit you.
Also check out: Only Legendary Players Know About Free Fire First Elite Pass Ever - The Sakura Festival Elite Pass




Comments