In Free Fire, knowing how to handle zone rotations can make or break your game more than just being a crack shot. Getting the hang of how the Free Fire zone shrinks and moving with it gives you a serious leg up. This guide breaks down the zone shrink system, how damage ramps up, rotation tips, and ways to guess where the next safe spot will be.

Understanding Safe Zones and Danger Zones
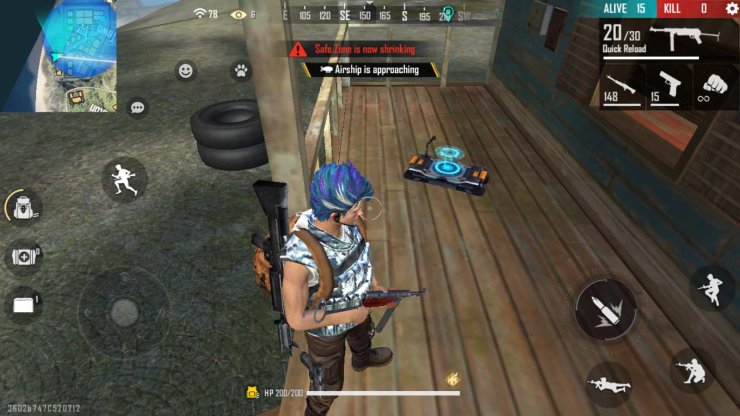
Free Fire maps split into zones that get smaller as the match goes on, forcing players closer. Here’s the deal with each zone:
- Safe Zone (White Circle): The safe spot where you’re not taking damage.
- Blue Zone: Outside the safe zone. It chips away at your health over time.
- Red Zone: A temporary bombing area. Stick to cover to avoid getting blasted.
- Final Zone: The tiniest safe area, where positioning or healing skills decide who’s left standing.
Each match has about 5–6 shrinking phases, depending on the map. As the game goes on, zones shrink quicker and hit harder.
Zone Timers and Damage Scaling
The zones in Free Fire shrink based on a timer, and the blue zone damage you take outside the safe zone gets nastier as the match progresses. Here’s how it shakes out:
| Zone Phase | Delay Time | Shrink Duration | Damage/Second |
|---|---|---|---|
| Zone 1 | ~3 min | ~1 min | 1–2 HP |
| Zone 2 | ~2.5 min | ~45 sec | 2–3 HP |
| Zone 3 | ~2 min | ~40 sec | 4 HP |
| Zone 4+ | ~1.5 min | ~30 sec | 5–8 HP |
Late zones are no joke. If you’re not quick or ready, the blue zone can wipe you out faster than enemy squads.
Predicting the Next Zone: How It Works
The zone doesn’t just move randomly. Here’s what seasoned players pick up on:
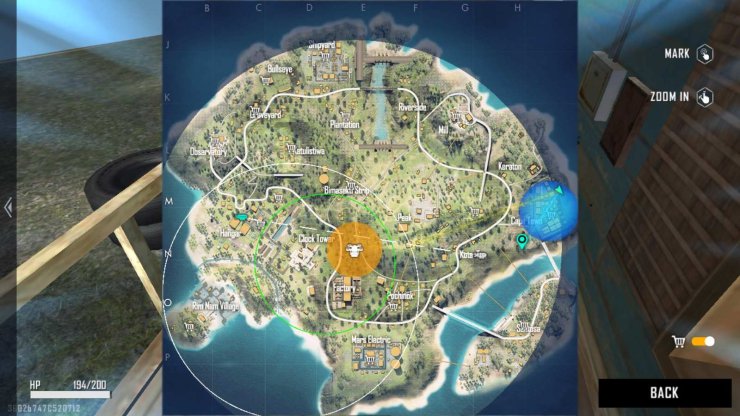
- Early Circles Stay Central: The first couple of zones usually stick near the map’s center, giving everyone room to loot.
- Later Zones Favor High Ground: Spots like Peak, Bimasakti Strip, or Clock Tower often end up as final zones.
- Water Zones Are Rare: The safe zone hardly ever lands near water or islands.
- Check the Minimap Dotted Line: It shows the shortest route to the next safe zone, helping you plan your moves and spot where enemies might head.
Early Game: Loot Fast, Move Smart
- Grab your loot quick and head toward the map’s center before the first shrink hits.
- Steer clear of crowded spots like Factory or Clock Tower early on.
- Keep it stealthy—shooting too soon can tip off other players rotating nearby.
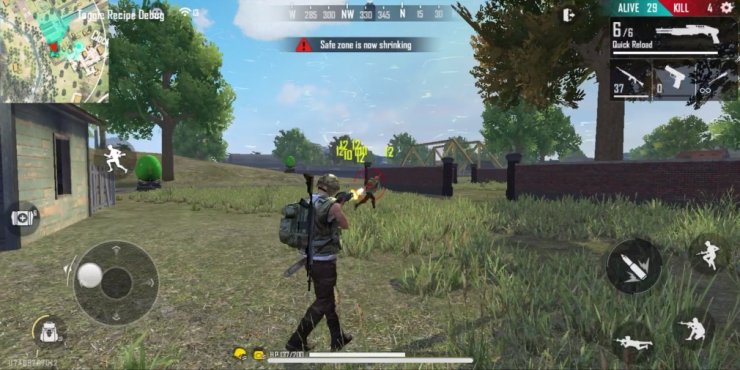
Mid Game: Control the Zone Edge
- Hang out near the zone’s edge to catch players rushing in.
- Use vehicles to cover long distances, but park before hitting enemy-packed areas.
- Stick to cover like hills, rocks, or trees, and avoid sprinting across open fields.
Late Game: High Ground and Sneaky Plays
- Claim high ground to keep an eye on the zone and player movements.
- Lock down central buildings if the final zone tips point to a close-in circle.
- Let other squads duke it out, then swoop in to clean up when they’re weak.
Timing is everything. Move just before the zone shrinks—not too early to get spotted, and not so late you’re stuck in the blue.
Using Healing to Outlast the Zone
If you’re caught outside the final circle, smart healing strategy tips can save your skin. Some players clutch matches by spamming healing items in the blue zone.
Healing Strategy Tips:
- Stock up on 5+ medkits, inhalers, and mushrooms.
- Throw down a Gloo Wall for cover while you heal.
- Pick characters like Alok or K for steady healing.
- Heal just before your HP gets critical—don’t wait too long.
Best Characters for Zone Survival and Rotations
Your character choice can make a huge difference when outrunning the zone. Top picks include:
- Alok: Heals while moving, perfect for escaping or recovering.
- Kelly “The Swift”: Boosts sprint speed to beat the shrinking zone.
- Misha: Speeds up vehicles and makes them tougher—great for quick rotations.
- Dasha: Cuts fall damage and helps you recover fast.
- Skyler: Breaks enemy Gloo Walls and heals when you place yours.
Pair them with pets like:
- Mr. Waggor: Drops Gloo Walls when you’re out.
- Beaston: Boosts grenade and utility throw distance.
Gloo Walls as Rotation Tools
Gloo Walls aren’t just for fights—they’re clutch for moving around:
- Cross Open Areas: Place Gloo Walls in a line to safely cross risky spots.
- Block Snipers: Use walls to cut off enemy sightlines from above.
- Heal Safely: Drop one before healing or reviving a teammate.
- Fake Out Enemies: Place a wall one way, then move another to trick campers.
Sound, Red Zones, and Rotational Awareness
Red zone strategy matters:
- Don’t shoot near zone edges—it gives away your spot to other rotators.
- Listen for footsteps or vehicles to plan ambushes.
- Duck into buildings during Red Zones; they’re safe from bombs.
Pro-Level Rotation Habits You Should Copy
Top Free Fire players move with purpose. Here’s what they do:
- Use UAV towers or scopes to scout the next zone from afar.
- Avoid water crossings unless you have no choice.
- Rotate as a squad: one player scouts while others cover.
- Always have a healing plan in case the zone traps you.
Mastering these tricks doesn’t just keep you alive—it boosts your rank too. For more on how zone survival impacts your score, check out this Honor Score guide.
Free Fire’s zone rotation guide shows the system isn’t just a shrinking circle—it’s like another opponent you need to outsmart. From timing your rotations to picking the right characters and tools, every choice matters. Getting good at safe zone mechanics will seriously up your chances of surviving, whether you’re grinding Ranked mode, competing in tournaments, or just playing for fun.


Comments