Before starting a game of Free Fire, players get to take two loadout items - these are super important and could be the main difference between a win and a loss. Find out more about how to use loadout in Free Fire in this article.
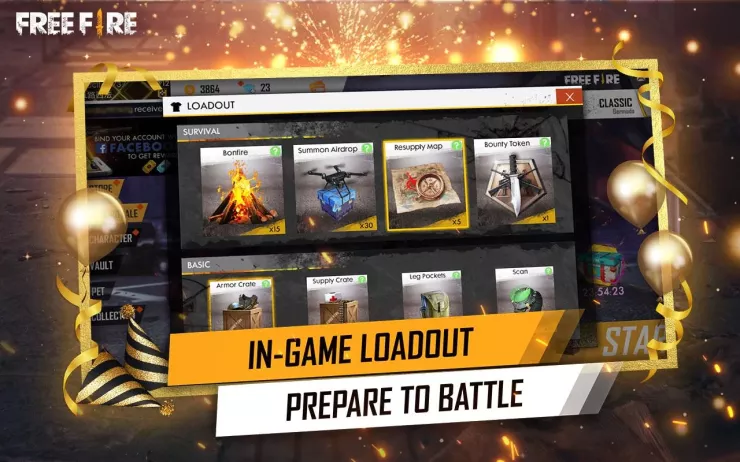
We would list out all the loadout items and how they should be used.
1 - Bonfire
Bonfire is a strategic item that could be placed anywhere on the battlefield. It restores EP for every player in your team in an AOE - the effect lasts for 9 seconds, restoring 10 EP every second. The bonfire is super useful in squad or duo matches - the 90 EP can be converted slowly to HP or used as fuel for A124's skill.
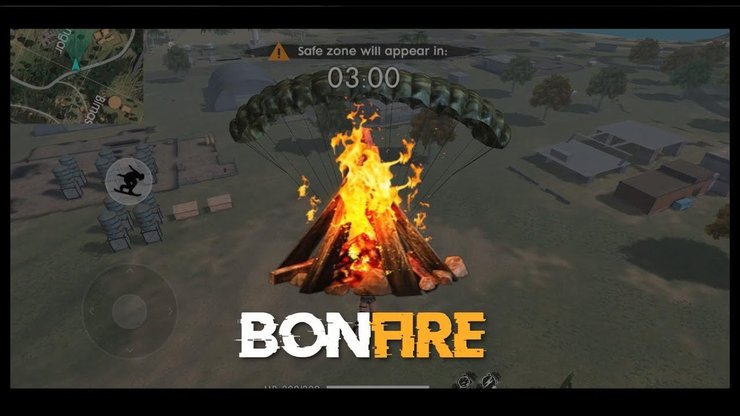
In Squad, for one bonfire, you could get up to 5 medkits worth of HP - definitely a decent item to bring. It is probably not worth bringing in Solo, as it is not nearly as strong as the Supply Crate.
You might be interested in:
2 - Summon Airdrop
This item would summon an airdrop crate onto your location. This is the most valuable item, as the crate could contain strong weapons and armor, giving you a massive advantage right from the start. Overall, you should immediately use it right after landing, as later on people might notice the airdrop and head to your location. Overall, if you don't know what to carry, just pick this item in the loadout.

3 - Resupply map
This item can only be activated while you are on the airplane. It would mark a location on the map and once you reach it, a button to reveal the treasure would appear. Due to the extra steps, the rewards from the Resupply map is pretty big - you would get a full set of gear after reaching the cache.
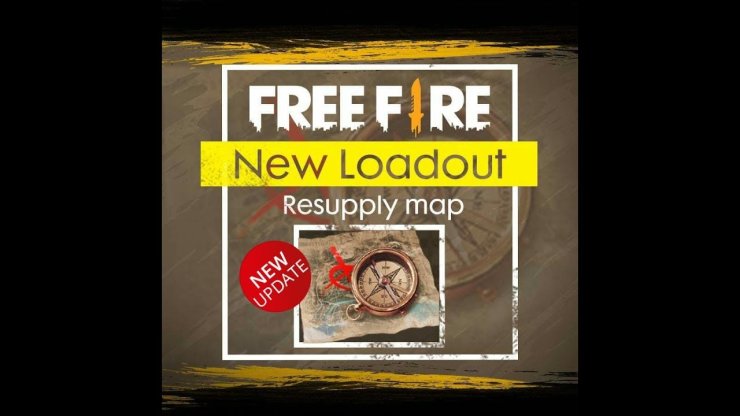
The Resupply map might sound overpowered overall, but you would have to follow the marker to get it instead of just summon the drop anywhere with the Airdrop Summon. This might lead to dangerous situations or force you to land on dangerous locations near the cache.
Read more:
4 - Bounty Token
You must activate the Bounty Token while inside the airplane, before landing on the map. This item would make the first player you kill to drop a lootbox. This is an alternative option for the Airdrop - the Bounty Token gives about the same bonus but a higher amount - you can get multiple good weapons and armor in the enemy's "Death Box".

It might sound pretty good, but remember that you have to get the kill to unlock the dropbox - you won't have any early advantages at all over your enemies. Comparing this to the airdrop that would give you the item right away without having to jump through any hoops... the bounty token is pretty high risks, high rewards.
5 - Armor Crate
You would consume 1 piece of this item immediately at the start if you equip the Armor Crate on your loadout. The crate would give you a random piece of armor at a random level - this means you can even get level 4 armor and helmet out of it (the rate is super low, of course). The most common level for an armor crate to drop is 2.
Overall, one armor crate and one airdrop is probably the best and easiest combo, as you would get a piece of armor and possibly a gun right from the start, enabling combat right away instead of having to wait for the loot.
6 - Supply Crate
This works the same as the armor crate - one charge of the item would be consumed at the start of the match. However, this crate would give you ammo and a medkit, which is somewhat less useful than the usual armor and airdrops. However, if you just want to play a normal game, equipping both crates is pretty much an ideal choice, as you would not have to go out of your way for resupply map, bounty tokens or airdrops and just play the game like normal.
You might be interested in:
7 - Leg Pockets
This is more of a late-game item - you would not get many advantages from having the leg pockets at the start. In the final circles, you would be able to carry some extra medkits with the bonus storage space provided by the pockets - giving you an edge in sustain over your enemies.
8 - Scan
This "maphack" item is a must-have if you are playing at high tiers or even going competitive. In the highest skill level, guns and gears are not nearly as important as getting the drop on enemies - the one who shot first would win the fight. With Scan, you would be able to locate your enemies on the map and make plans to ambush or flank them.
Interested in more of our articles related to Garena Free Fire? Please check out this post to find out more about the Free Fire Halloween event this month.


Comments